Friday, September 28, 2012

The most AWESOME lounge pants ever

Now it is time to show some of the sewing I've done for the son.  It is much harder to find or think of projects to sew for a boy than a girl.  I mean they both wear pants and shorts, but you can embellish more on a girl's outfit than a boys.  So I make up for that by letting the fabric do the talking as much as possible for the boy.

Here is a a pair of pyjama pants that I sewed from a men's shirt a couple of years ago.  I believe that he was 3 at the time, but the pants still fit.  I believe I made them a size 5 and just let them run big at first.  They are from a soft silky type material, so he wears them as pyjama  or lounge pants.

Front side
Back side

That pair turned out so well that I immediately started making a stop by the men's shirt isle a regular occurrence at the thrift store.  I started collecting up the fun fabric shirts with plans to sew lots of lounge pants.  My son even got into it and points out shirts that he likes.  So I won't say how many I have saved up but I'll say that it is high time I got started before he is a teenager and too cool to wear what I sew.

These pants are super easy, especially with a serger so I really have no excuse.  The part that takes the longest is actually cutting them out, and that is only because I am cutting it from a shirt and trying to maintain as much of the already sewn parts as possible.  For example, on this one below, I used the bottom hem of the shirt for the cuff hems.  I had to maneuver around buttons and buttonholes but that is part of what makes it so fun.....making it work against all odds.  So anyway, here they are, the pictures are pretty self explanatory.


Isn't this the coolest fabric?  It is a soft cotton.

Those sleeves might make perfect shorts

maintaining the hem that is already there.

 Don't forget to turn the shirt inside out before cutting the pattern

Careful of that buttonhole

Aren't they awesome!?!


Front

Back

 All that was left of the shirt was the two sleeves and collar.  Those short sleeves are looking a lot like shorts to me but I haven't quiet figured out how to make that work yet.  And I've used a collar before as a flat front waistband before.   Anyway, more of these to come soon.


Thursday, September 27, 2012

Open Face Cabinets

I shared the chocolate kitchen cabinets with the decoupage in an earlier post.  After a few years, I got tired of that and made a few changes.  While I would really like to completely change out the cabinets, it is not in the plans for now.  So I've painted them again.....and removed the doors.....and added curtains to the bottom.  Both the top and bottom colors are oops paints and likely not the right kind of paints for cabinets, but oh well, it will keep me happy until I decide to change it again.


You'll notice that I  put real tile on the backsplash finally.  If you look too close you'll also see that I have not finished grouting it.....and its been a few months.  Putting this in writing is supposed to motivate me to finish it.  I'll check back in on that later.


You'll also notice that I missed painting one of the upper cabinets.  That was just laziness on my part, I would have had to pull out the stepladder and there is only so much one is willing to do in the middle of the night.  Yes, I often stay up very late working of projects.  It's my ME time.


Those curtains on the bottom are from a piece of decorator fabric I found and I had to eek out every inch of it to get those curtains.  I would have preferred them fuller.  And I couldn't even hem them, I had to use a rolled edge serge to keep them long enough (and I still suspect that they are too short).  And the curtain rod channel was so tight that I had to force the rods in and can't slide the curtains.  I went for so long with open bottom cabinets (and that is where all the ugly stuff is kept) that I think I settled when I finally got around to making the curtains.

I am getting irritated with them just talking about it.  Me, with more fabric than I can even store at home, settling for skimpy cabinet curtains?  What am I thinking?  I think I just found my next project....along with the grout....and the cabinet to paint.

Wednesday, September 26, 2012

Winter Beauty


Isn't this a winter beauty?   So cozy looking!  It hangs to the floor even on an adult.  I can picture it with a pair of boots.  But I am a shorty and it will make me look shorter and shapeless, so to the daughter it goes.


Good quality name brand.  Notice the size Large.....I love to buy the biggest I can find, more fabric that way.  Nice thick elastic too, but notice the double stitch down the middle....not something I want to pick out.  I will be leaving that elastic as is.


I hated to do it but I had to chop off the bottom two layers.  She is only seven and she has to be able to walk and play in it.  Don't worry, you'll see those two layers again.  Look at all that fabric.


Here is the nice red edge on the skirt now, courtesy of the serger.  I think I love my serger more than my sewing machine.  Maybe....I don't know.  That's like trying to choose between your children.


And here is the big reveal!


I just cut in some arm holes and covered the raw edges with bias tape (sorta - this has a serged edge instead of turned under).  I didn't want to cut that waistband so I wrapped the polka dot fabric around it to make floppy bows on each shoulder.  Then I needed to break up that waistband so I added another there.  I need something will make it look more like a yoke instead of a waistband, but I don't want to over-embellish.  I'm not convinced that it doesn't still look like a skirt until I see it on her.  It would look really cute with a turtle neck and leggings.


Tuesday, September 25, 2012

Dip-dyed skirt into sundress


Sometimes I buy a pretty skirt that is probably more trouble than it is worth.  For example, this one.  If I had just added straps to make it a sun-dress for my daughter, it would have reached the floor.  But I couldn't shorten it without loosing the color change details.  So I decided to use a red serger thread for the trim details and pair it with this piece of fabric to make it a shorter dress for the daughter.  Notice that it is not a perfect skirt anyway, some of the mirrors are coming off (see the bottom left side of the photo).  I am not going to sweat that stuff, she will likely pick some off anyway.


The white dot detailing seems to have been done with a bleach pen....cool.   I have no idea what will become of all that puckering when I wash this.  Oh yeah, another thing about me.  I rarely wash fabrics before I sew them...yes even from the thrift store.  Of course if it is smelly, I wash it first but usually I won't buy it if it is smelly.  I guess I am just gullible enough to assume that people wash their clothes...if doesn't stink, I'm cool with it.  


Now this skirt was clearly handmade...no tag and no professional seams.  And some weird mesh type lining that I assume is to give the fabric some bulk since it is a very thin linen-y fabric.  I decided to leave it  because I think it will help flare out the dress more.  The fabric, not high quality stuff, but very pretty regardless.  I just cut this orange trim off and reattached it with the serger with  a red rolled edge exposed to the outside.


You can even see where they left the ends of the elastic exposed.  No big deal, that whole top foot or so is coming off (saved for later of course....at a minimum I can reuse the elastic).  Once I cut that top part off, I swear this thing was three feet wide!  I just cut a little C shape for each arm hole.  This flimsy fabric and its mesh underlayer was a pain to work with.


I cut piece of bias trim out of the yellow/red fabric to encase the armholes, two tubes to encase elastic for the shoulder pieces and a yoke front and back.  Easy enough right?


And here it is!


Monday, September 24, 2012

You framed what?

Sometimes I come across a piece of fabric in a dress or skirt that is just so pretty that it could be framed....so that is what I do.

I have two examples in my dining room.

This one was a HUGE ladies shirt, by huge, I mean that one of these frames might be a piece of the sleeve.   I believe that you'll see this fabric come up again in a future post.


This one was a ladies blouse.  Sorry about the flash, I often do these late at night.


Here are some more recent additions to my living room, all fabric cut from ladies clothing.  I am in the middle of a redecorate on the living room so I don't want to show too much.  Just know that the angle is odd on this first one because I am taking the picture from the loft.  And I have 20 ft ceilings so these frames are all huge, around 20X30s.  If you wanted to do smaller frames, of course you could REALLY frame just about anything.

 This one was a scarf and the stripe is in the cloth.


A dress:


A dress:


A skirt:


A skirt.  It had an over and underskirt so it gives it depth, like a real painting.


A blouse with a twisty type fabric, this one still has the wrinkles in the fabric.  It gives it a painted texture.


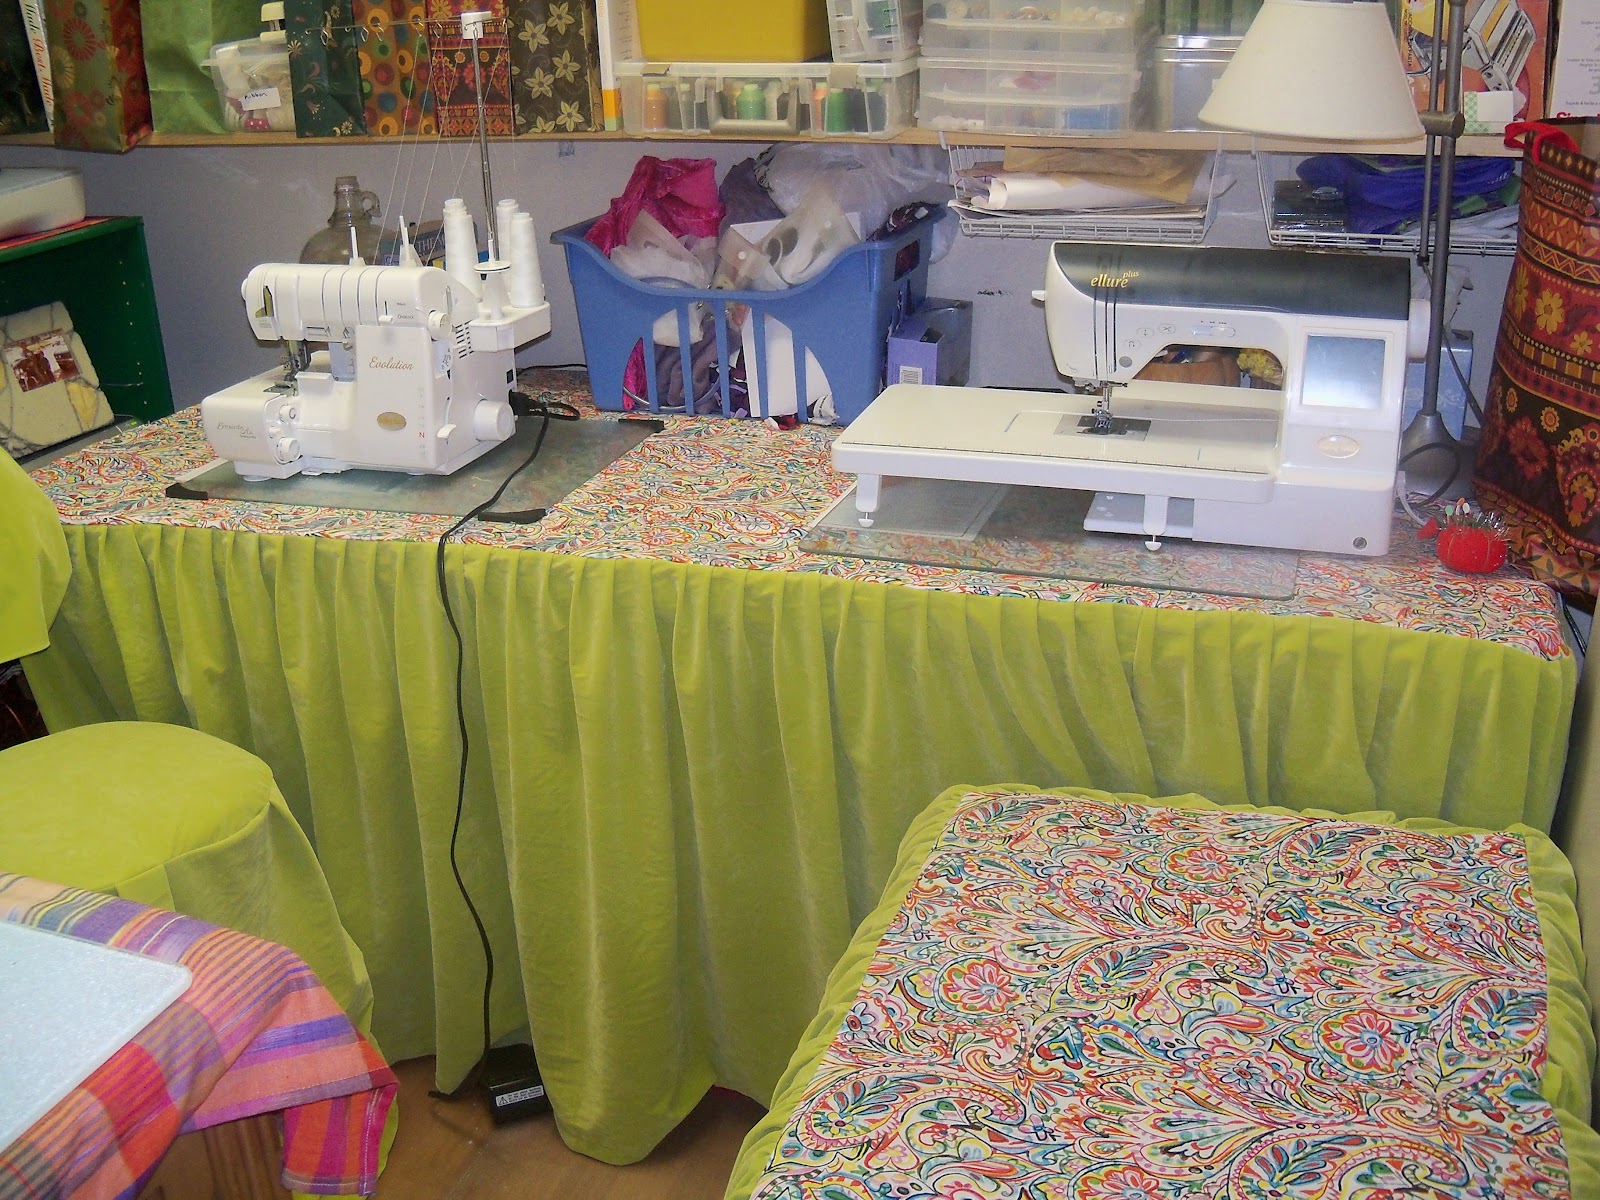
And here is one for my sewing room from a skirt.  I think it is the prettiest of them all.  I am thinking of adding cork underneath so that it can serve as a bulletin board too.  You'll notice that this one doesn't have the flash glare because I removed the plexiglass.  On the others, I chose to leave the glass because they hang so high up on the wall and will collect dust on the fabric otherwise.  This one, I can actually reach to dust more often.


On most of these, I now have a the back side only of a dress/skirt/blouse left to do something else with.  With these being such a big print, it will be hard to maintain that in making something for the daughter.  The poppy one is the only one that is actually cotton, the rest are slinky types of material.

What else can I do with them?  Pajama pants?   Yeah, if I only want one pants leg.


Did you notice the new green paint on the sewing room walls?  I'll show more on that when I can finally get the whole room painted and decorated.  Another project to finish.

Sunday, September 23, 2012

The ultimate coverup


By looking at some of the few projects that I've shown so far, I see a theme.  Can you tell that for me fabric is the ultimate coverup tool ?  I use it over and over to hide all the clutter.  I really don't have any nice furniture, first because I am too cheap and also because I know that I will want to put some sort of cover on it anyway.  Maybe all that will change when I get a huge house and have plenty of storage space but I suspect that even then, I'll want to cover it all up as a way of showing off my fabrics.


You've seen these:

to hide sewing supplies
as doors for the closet

as bookshelf covers
to hide an ugly vanity


I've used the coverup....

in the kitchen


to hide the pots


For the pantry


to hide the food


For the dining room cabinet


 to hide the appliances


In the living room


   to hide the toys


Even my poor freezer/cutting table isn't safe.


I'm sure I have more examples.  Makes you wonder why I have so much to hide, huh?


Saturday, September 22, 2012

Revamped Chandelier

I've been on a chandelier kick lately.  And from looking at Pinterest, so has everyone else.  It all started a couple of years ago when I got so sick of looking at my builders grade light fixture over the table.  I don't have a picture, but it was your typical shiny brass and it looked very cheap.  So I kept an eye on Craigslist for a cheap or free fixture.  I found this one for $10 and the husband installed it.  It was still shiny brass but it was much prettier.  Then I came across a ceiling medallion.  After painting the medallion antique gold, I begged the husband to take the light down to install the medallion, not realizing that the light fixture was to hold up the medallion.  Then knowing he would kill me if I asked him to take the light down again, I painted the fixture while it still hung.  Here it is:


I found a simple chandelier on Craigslist, shiny brass again, but otherwise perfect for my baywindow area in the kitchen.  I previously had a stained glass shade hanging there.  I spraypainted it with a primer first and then with an hammered bronze.  After having it installed, (Thank you hubby), I noticed that although I gave it a few coats, I could still see primer.  Alot!  Look at all that grey!  It really is covered but when the light hits it a certain way, you see right through it.


So then I used a foam brush to paint it again while it hung with the same antique gold I used on the dining room light.  Then I added some antique crystal chandelier prisms that I scored on eBay.

Big improvement, huh?


Ta Da!


LOVE IT!!!!


This one that is in my kitchen looks so nice that it outshines the one in my dining room, which I think should look even more glorious, so......that will be coming soon.  I have the new chandelier, I just have to glorify it.