I've been doing some more sewing lately. I am working to pull together some spring/summer outfits so I can clean out the closets and transfer seasons. Part of that clean-out has me holding a ton of boys jeans with holes in the knees. When they are this bad, I don't bother to take them to the thriftstore. I use them to "play around".
I am not really sure if there is a difference in boys and girls jeans before the puberty years, I mean cut-wise. So I decided to just go for it and make them girls jeans now. So far I've done 4 pair, two not quite finished so I'll show them tomorrow. I did the other two as capris! I have about 10 pair in all so I may alter a few with a boy flair but that will take much more thought and digging through fabric.
Pair Number 1
 |
| This pair had a huge hole and a tiny hole, so I didn't have to patch both sides. |
 |
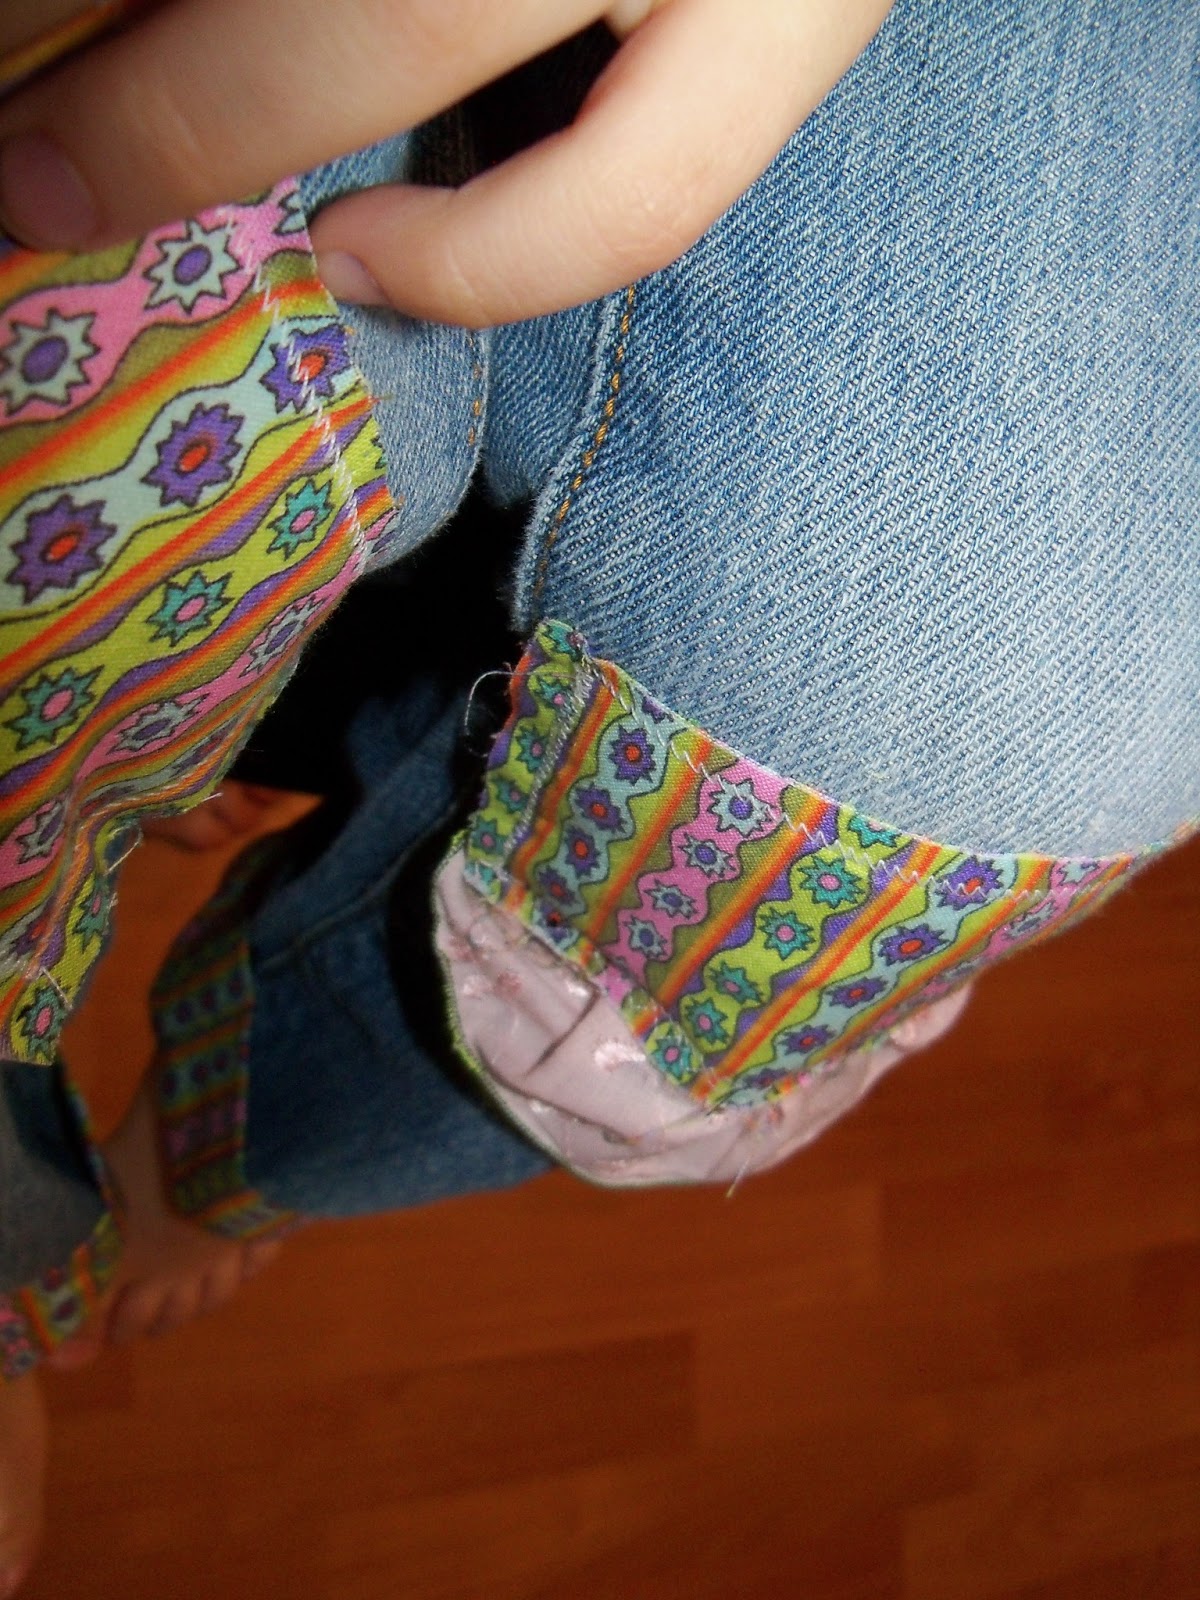
| In order to sew these on a sewing machine, you have to use a stitchpicker on the seams so that you will have a flat surface to sew on. Even a free arm machine won't fit a size 5 pants leg. You just un-seam them up to the thigh, add the embellishments and sew them back up. |
 |
| Please ignore the toilet and duct-taped carpet in the background :) |
 |
| This should continue to ravel right up to the edge of the stitches. |
 |
I just cut the bottom hem off, which is really thick and pointless with the ruffle on, and left it raw. As they are washed, it will ravel and be a soft edge on the leg.
Pair Number 2
|

 |
| I left the edges of the print raw so they will ravel up to the stitchline. |
I haven't decided what I am going to do with these yet. I thought about consignment. Do you think they would sell?
I've shown pair number 3 before in a previous post, but they are too small for the daughter now so I'll be getting rid of them too.
Pair Number 3
 |
| This material came from a vest....see previous post. |
 |
| No choice on leaving the edge raw when you only have a tiny piece of fabric left to work with. |
More to come....