Happy New Year all! Where the heck have I been? Well, I'll briefly fill you in and then get down to business. I talked my Mom into coming up to visit and she came at the beginning of December. She just went back home at the end of January. I've just been really too busy to post since she left. She usually stays for long visits when she comes but the last time it was this long, I was on bedrest :). We have been so busy. When I asked her to come, I said that she could help with my long list of projects and boy has she!
I know that I posted a sewing punch list on here and we have done some of that but the main goal with her visit was to help me pull myself together with some house projects that would get me organized so that I could work the fun sewing punch list without guilt. Let me just say, MY HOUSE IS LOOKING SO GOOD NOW! We basically went room by room making a list of what needed to be done. Some rooms had some major painting, sewing and redecorating and others just had some existing projects that need to be finished. My house looks so warm and cozy now. And almost everything we did was with stuff I already had.....remember I am an overplanner, so I had already bought this stuff from various places over time and just never executed the ideas. We had to buy very little.
So down to business....
I'll start with my living room. We decided to paint! Well, I had decided to paint a while back, didn't fully have the hubby's support, talked myself out of it, decided to do it, bought the paint, chickened out, decided to go ahead, talked my self out of it again.....you get the point. I told my Mom, "I don't think I am going to do it"....she said, "you've bought the paint and I am here." That is all I needed. That is why I asked her to come. I have all these ideas and she is the person that says "grab that end and let's go".
 |
| This is one of the only before photos that I could find.....this living room is the far room. It only shows the top part of the room, view from the dining room. Doesn't do it any justice but shows the previous curtains and the white wall color. |
I tried to find some before photos but I have none that show the full scope of the room so I'll just show the after and will elaborate on the various projects in later posts. This room is so hard to photograph so please bear with me. And you'll notice, we got so busy, photos for the blog were an afterthought....sorry.
The big reveal......
 |
| Notice the railing is black now....future post on the dining room. Stay with me now, focus on the living room. |
As you can see from the photos, there was good reason for my wishywashiness on painting that room. It is a beast! 20 ft ceilings. I started cutting in on the ladder around 5pm and we finished the room at 2 am. Can I just say, I love this color. Not beige....tan. I'll have to look up the actual color but I believe it had Latte in the title. This was the color I wanted when we first moved in and was talked out of....."it's too dark". NEVER AGAIN. These walls are very imperfect and the darker color and flat paint really hide a lot of issues (TONS of drip marks at the top from previous painters, drywall tape lines, etc.) Before everything was so much more noticeable. Hubby came in during and was not happy with me....but he did admit later that week that it looked good. He doesn't deal with change as well as he thinks.
So let's start with that crazy cat walk. I never really knew what to do with it before and it was totally a dust catcher. Now it is at least interesting (Are those windows?) and accents the height of the room continuously around the room.
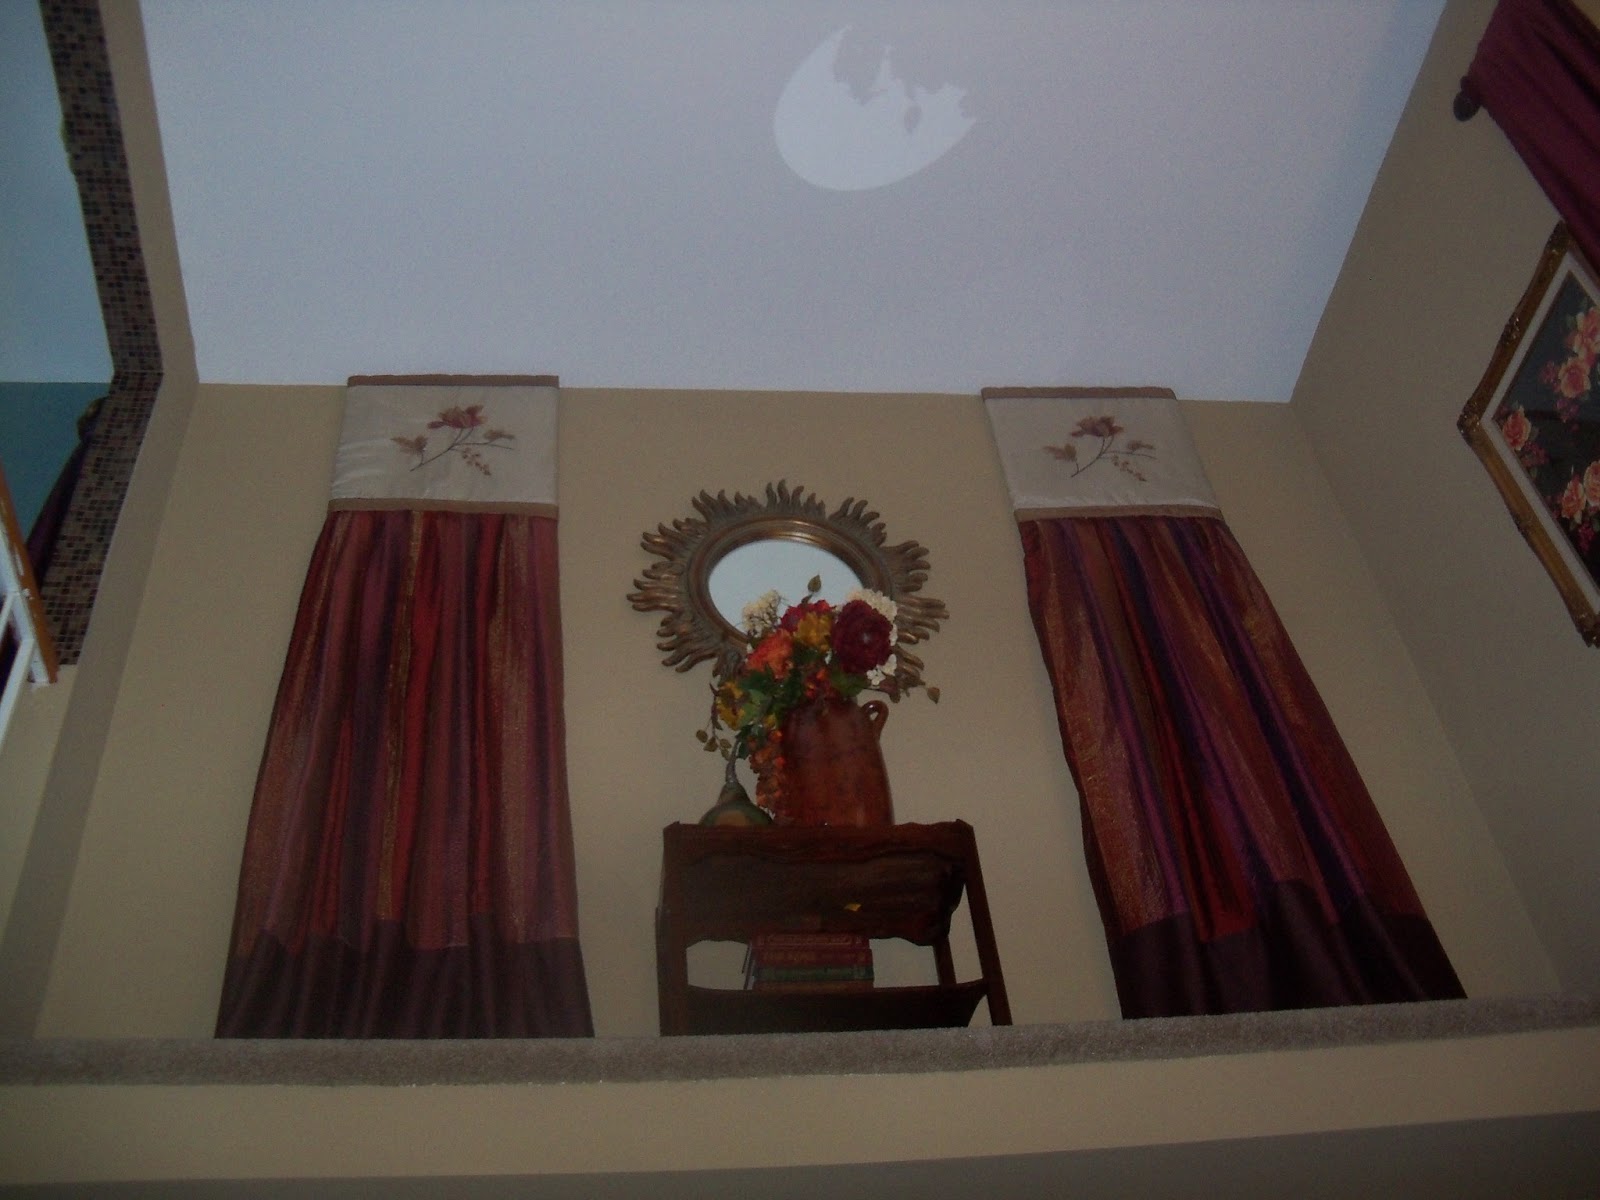 |
| Not sure what this is in the picture on the ceiling but it's not there in real life. Everything you see here is from thrift except the mirror (gift) and flowers (store bought). |
We took two panels of insulation board, around $8 a piece and pinned everything to them. They are right at 8 ft tall, give or take and that was perfect to be able to just tuck them in floor to ceiling, no cutting, no nailing, no nothing. They must be a dab over 8ft because they are slightly bowed out at the bottom but that is fine by me since it holds them in tight and the curtains cover it anyway.
The toppers are two embroidered pillow shams wrapped around and pinned to the board with T-pins. The curtains are retail (but from thrift store of course) but they were too short so I added a piece of fabric at the bottom (thrift again). Everything else here was just moved from other areas.
And here is the area under the catwalk. The red chair was a steal at $35 from a hotel furniture resale store. The round side table was a Craigslist buy that we painted a dark purple (oops paint - made into diy chalk paint.) I show that project in a later post. The rug on the floor is a carpet remnant from the hotel furniture resale store - $25! and I actually had to cut it down a little to fit the room.
So lets talk about the elephant in the room....check out those curtains! Yes I am a sewer and I had all intentions of sewing up my own curtains here but then I found these at the hotel store for $20 a panel. They are pinchpleat, came with the hooks, were already super long and are fully blackout fabric lined. They even had the sheers included with them but I put those aside for a later project. And let me tell you, that black out lining is expensive to buy. It has done wonders for the draftiness of that room!
The long maroon panels were already in my plans and they are simply scarves...the curtain scarves that you drape across the top of a window. Thrift store of course! These were brand new in the package from JCPenny, had the $100 price tag (each) still attached, and even included the nice trim. If you ever see curtain scarves, grab them if only for the fabric....each one is 108 inches long! The trim alone is very expensive for that kind of yardage. All I had to do was sew in a curtain pocket at the top. Big curtain rods were also a thriftstore find. Those are very expensive to buy too. That top long one, I had to buy from the store and it was about $25, rod only! I also had to buy to wooden hoop sliders, expensive. It killed my because I see those things all the time in the thrift store and pass them up. So did I see any the entire time my Mom was here? NO! The rest of the rods, finials too, were from the thriftstore, thank goodness! I would have paid hundreds in hardware alone. The sheers here are thriftstore too. They were actually tab top curtains and I cut those off and put in a curtain pocket.
 |
The buffet is a thriftstore piece that has a had several lives in my home. The latest is a new top of faux leather fabric with nailhead trim...another future post. The double shaded lamps and huge mirror are from the hotel store....what can I say, I racked up in that place. The lamps were $15 a piece and the mirror was $15....yes, I said $15! The lamps even have that nice plug in (and phone jack) on the base. ALL lamps should have that, it's great!
|


There's a better view of that carpet. Too loud for some, but I love hotel carpet, the really decorative kind they have in the fancy hotels. The leather couch, we've had for years but it was a Craigslist buy, almost new for about a third of its original price. The round orange coffee table is still in progress so I won't say too much about it now. Just know it was a thriftstore table, butt ugly, I'll show you more about it in a later post. The low piece with the cushions on it is a post on its on. It was a dumpster find! Yes, I drag things home from the dumpster. More on that later too. The cushions are recovered from thriftstore, some I've been hoarding away.

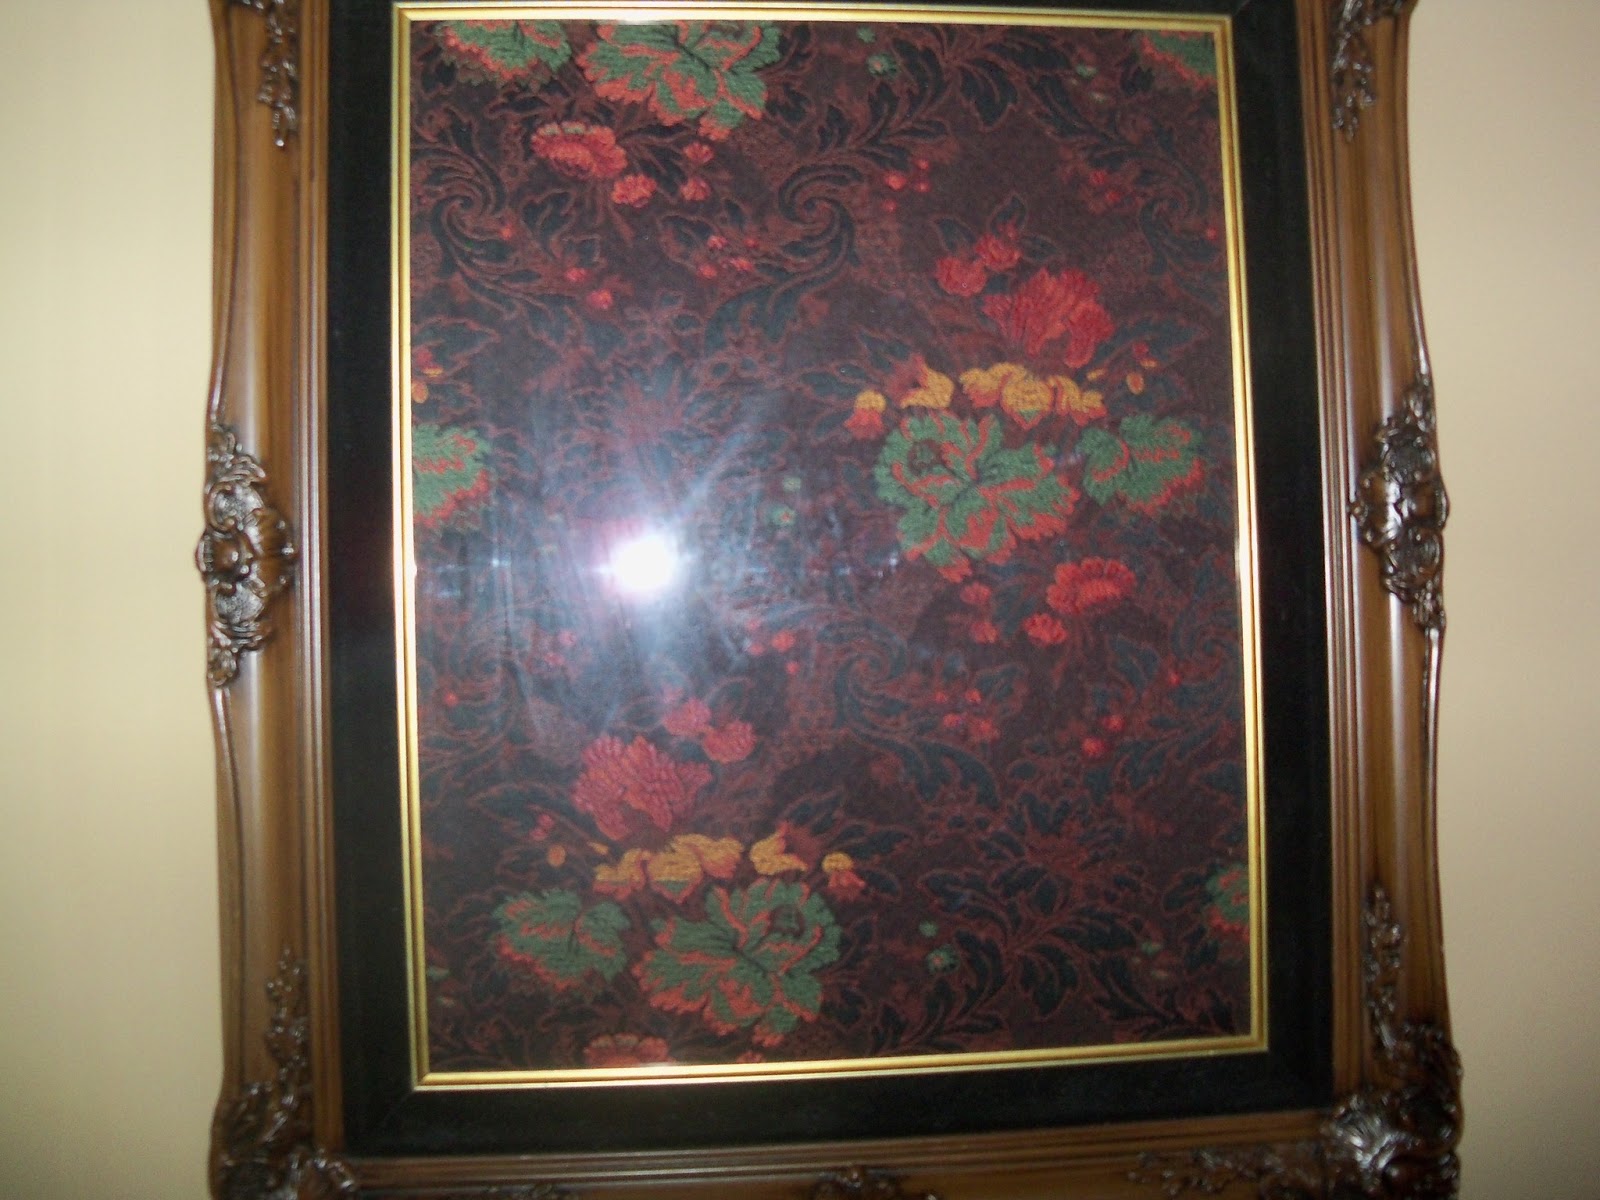
I believe I've shown the pictures before, showing how I frame fabric for art, mostly thrift store skirts. Well here they all are. Much cheaper than buying huge art pieces. The frames were won on Ebay years ago.
 |
| Notice the bookshelf in the background. This is the second one in the room. The other is under the catwalk. I just moved things around a little. The covers are shower curtains that I trimmed out. Covers a ton of clutter! All the little decor items are thrift finds I've been hoarding away or just moved from another part of the house. |
 |
| The lovely treadmill sits in the corner as you enter the room. Notice the blue walls, that is new for the entryway area....you'll see that later too. Yes, I've sewn a cover for the treadmill before, but it never gets put back on so it is pointless. I've been thinking about putting the vinyls on there, like I did on my sewing machine (see previous post). What do you think? Tacky? The red cushions were a dumpster find.....they were sitting out beside someone's garbage cans, I didn't actually dig in the dumpster! We use them to let the kids lounge around. I did clean them with the carpet cleaner. They are ultraseude material. |
 |
| This was a Craiglist buy that has was waiting on paint. See a post soon that shows that whole transformation. |
 |
| More home decor items that I was squirreling away in the attic. Still on the lookout for round ball candles. |
 |
| Bad photo but it give a better look at the sheers. I have to use these because of the glare and the double paned windows seal has leaked so they are fogged over....not pretty. |
So can you tell I've been busy? And that is just one room! I believe I mentioned about 20 future posts in there.....so I need to get busy on those now. More rooms to come also, we did the entire house! Signing off now, it's good to be back!
 This was sitting by the dumpster in the apartment complex the next block over. I drive through there once in while, especially at the end of the month, when people are moving out and putting furniture pieces by the dumpsters. I saw this one in the middle of the night and could only see it by the lights of my van. I looked at it, got out and walked around it, tried to determine exactly what it was and if all that white stuff was paint or dust or what. Opened the drawers and saw that they still had some garbage shoved in them....not garbage garbage, just the kind of stuff you leave in a dresser when you don't want to move it. One of the drawers didn't appear to work properly. The doors had no handles so had to be opened using the tips of your nails. It looked absolutely filthy with that white hazy stuff all over it. It was so heavy I could barely lift one end. I decided it wasn't worth my time.