Friday, February 7, 2014

8 years later

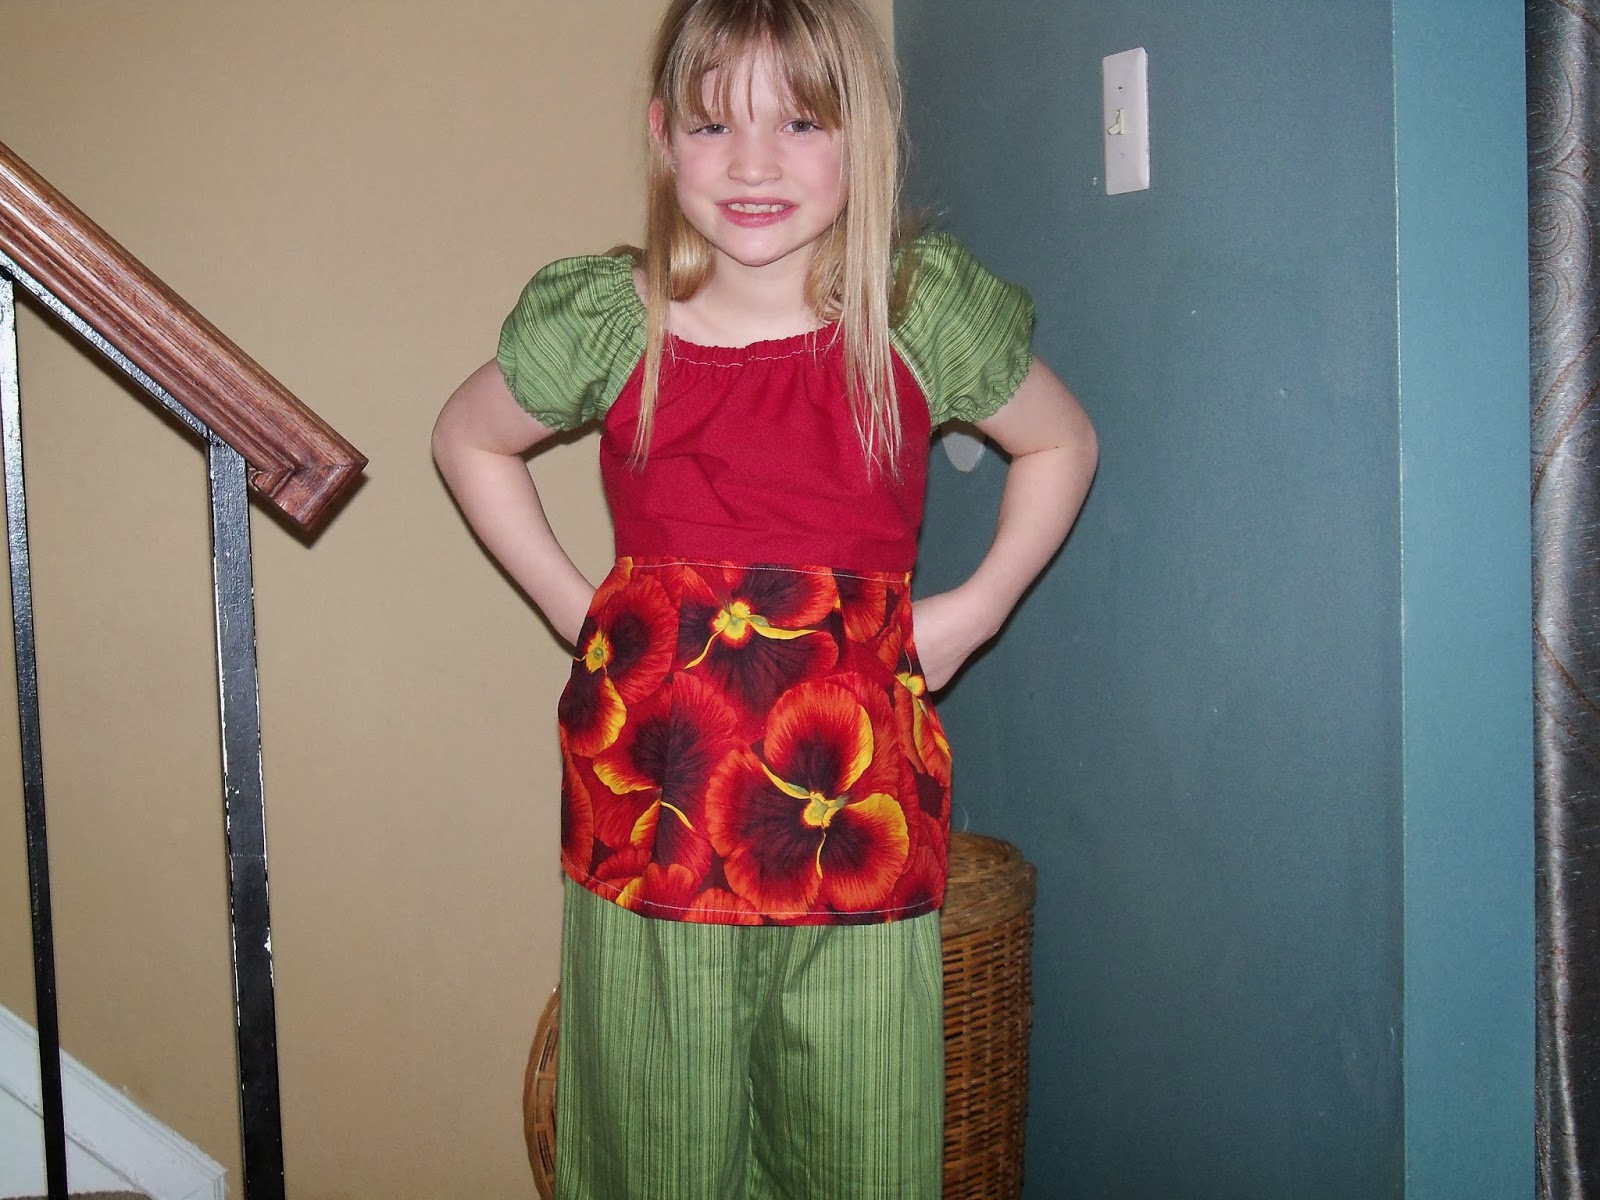
Just to shake things up, instead of sticking with that same group of fabric from the last few posts, here is one off the wall.  This isn't really a refashion except that the burgundy fabric came from a sheet.  The green is a fabric remnant bought at the thrift store and the flower piece was bought on ebay years ago but no fabulous upcycle here.


The flower piece was actual bought and she was laid on it for new born pictures....she finally gets to wear it, 8 years later.  Who knew?  You can tell I was limited on fabric by the minimal gathers in the skirt.


Now that she is getting older, I am questioning if I should make some of her outfits more tailored, like she is showing below.  Any opinion from the peanut gallery on whether this looks better loose or if I should add a little elastic for a waistline?  Adding the elastic would actually add more gathering to the skirt too.


She obviously doesn't care right now, but I don't want to be THAT Mom, dressing her kids like babies when they are too old.


Thursday, February 6, 2014

Puffy with paint drips


Here is another project from this fabric group.  I think I have three so far, two posted and one not quite finished.


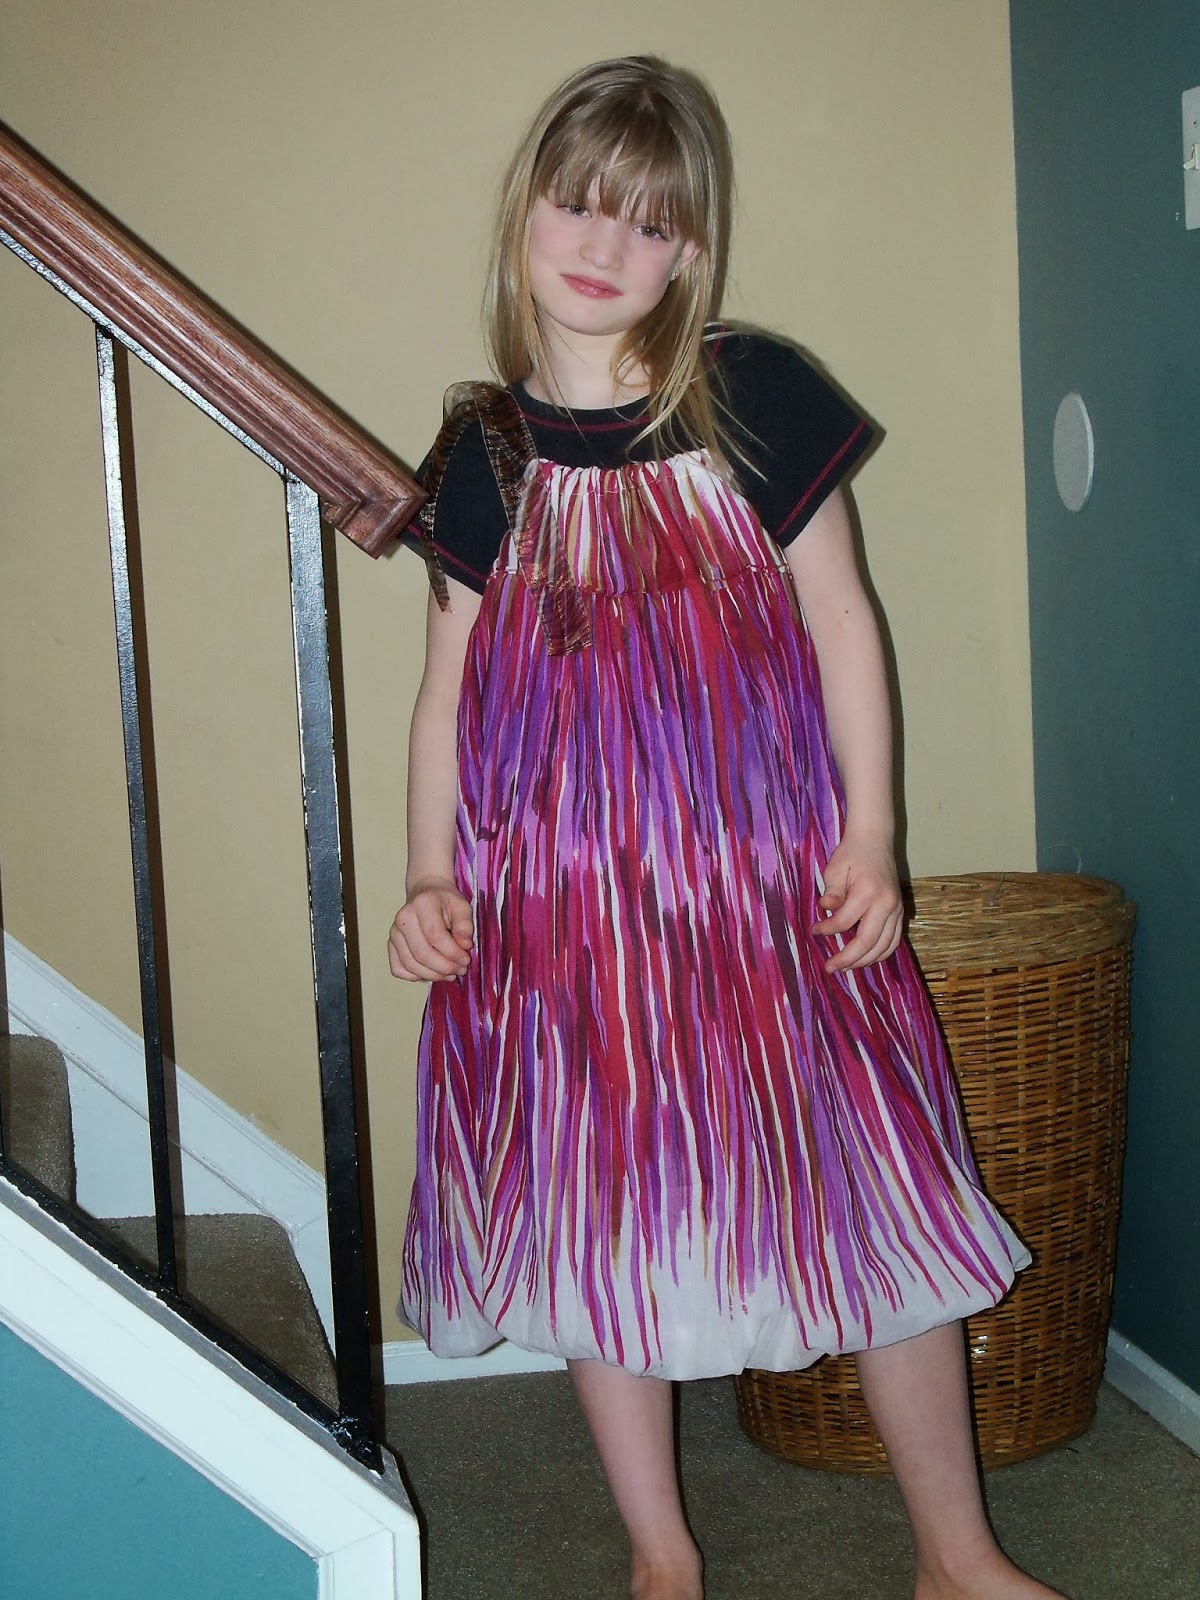
The paint drip skirt has such an interesting pattern, I am leaving it as is lengthwise.


I just removed the waistband (and saved).  I decided to use that top band of fabric as the bodice.


Using this pattern piece, I cut out the arm holes on each side.  It is way too wide but such a soft fabric, I am going to gather it up the right width with a few sewn lines and let it be a puffy top.


Before I sewed the top, I decided to make it a puffy skirt too.  I did that by flipping it inside out, sewing the underskirt to the overskirt and then turning it back right side out.  Then I serged the top arm holes, flipped the serged edges to the inside.  The only exposed sewn parts were along the neck, which I serged and then turned down to run a ribbon through.


The tiger print matches the traces of brown that are in the paint drips.  I will say this fabric was like sewing cheesecloth....not fun.  But this will be light and airy for spring...if it ever comes.


Wednesday, February 5, 2014

Super soft flower power


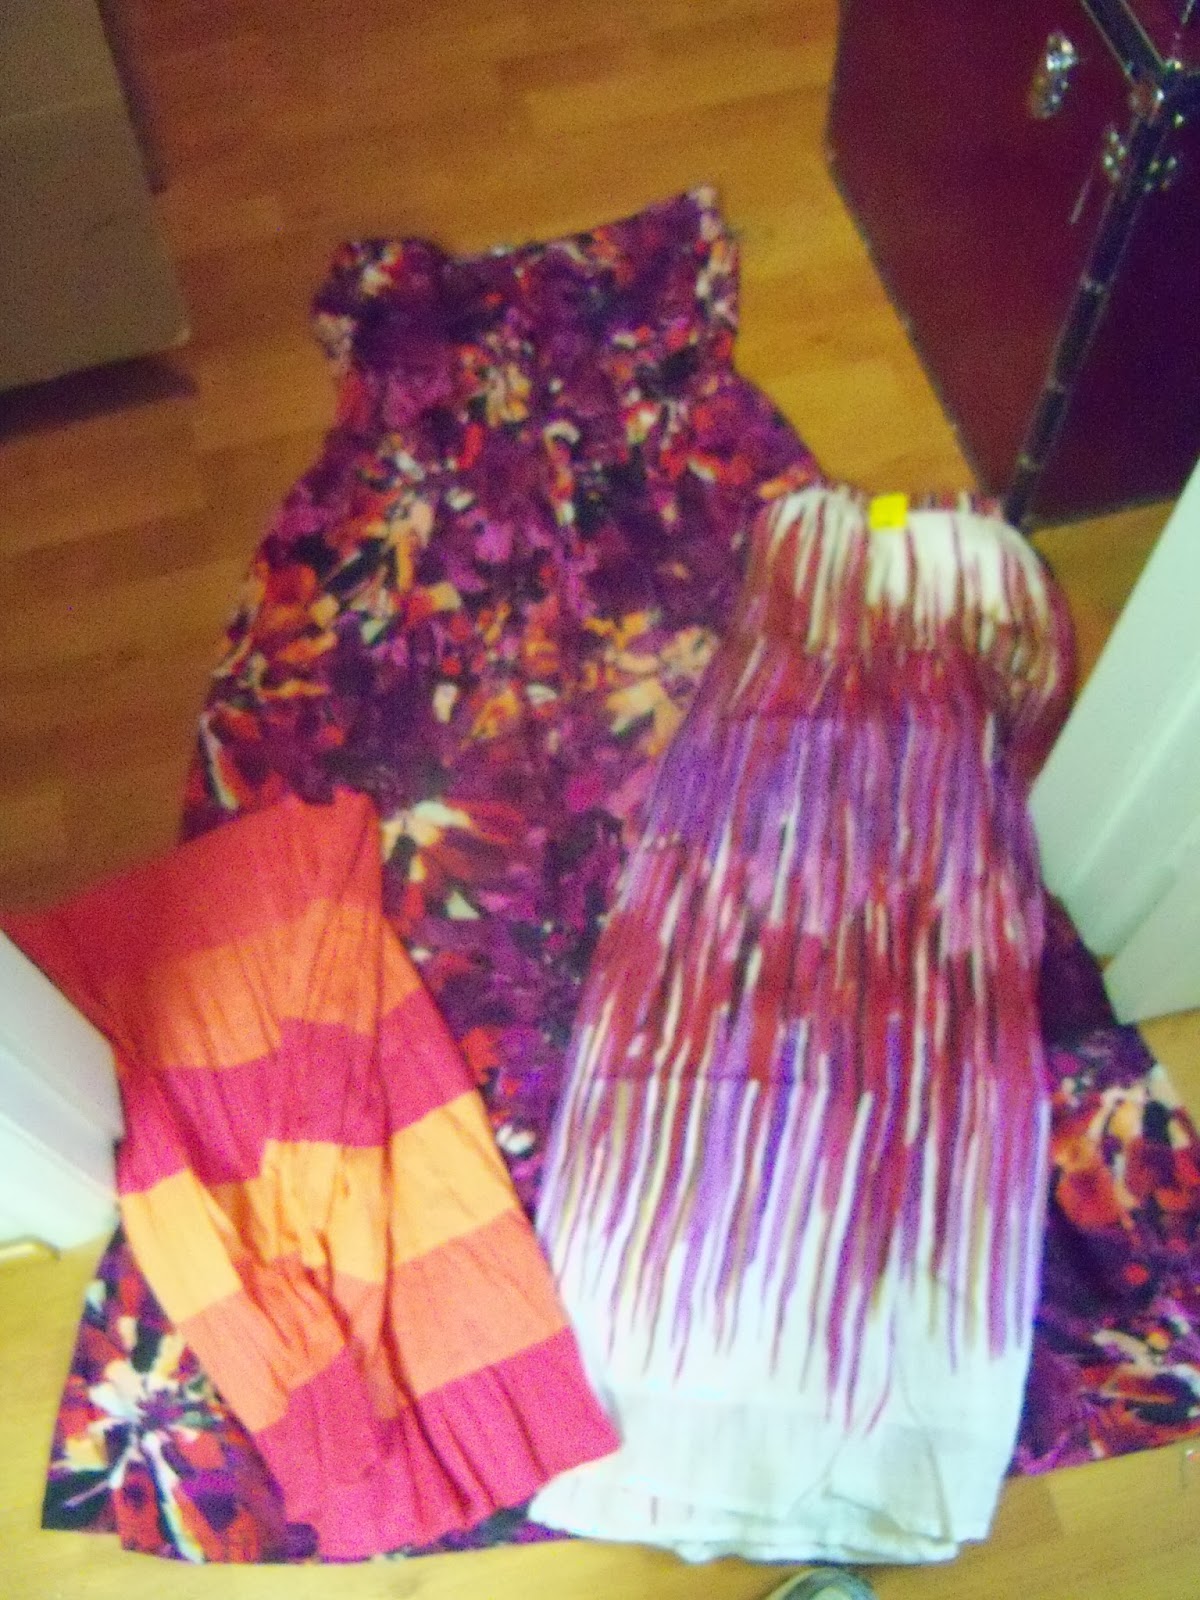
This combination started out as an idea for one outfit, but still ended up as several separate outfits. You saw one from this skirt yesterday... this orange and pink piece is a remnant of that skirt.   The colors are perfect together but the fabrics are so different, it was hard to combine.  And the white based paint drip look would be lost if I cut that one down.  So this little pile will lead to several projects....lets see how many.  One so far from the full skirt.


The flower pattern dress is HUGE, and a very soft stretchy knit.  Think super soft tshirt.  It has this rusching on the back that I plan to use in the design.


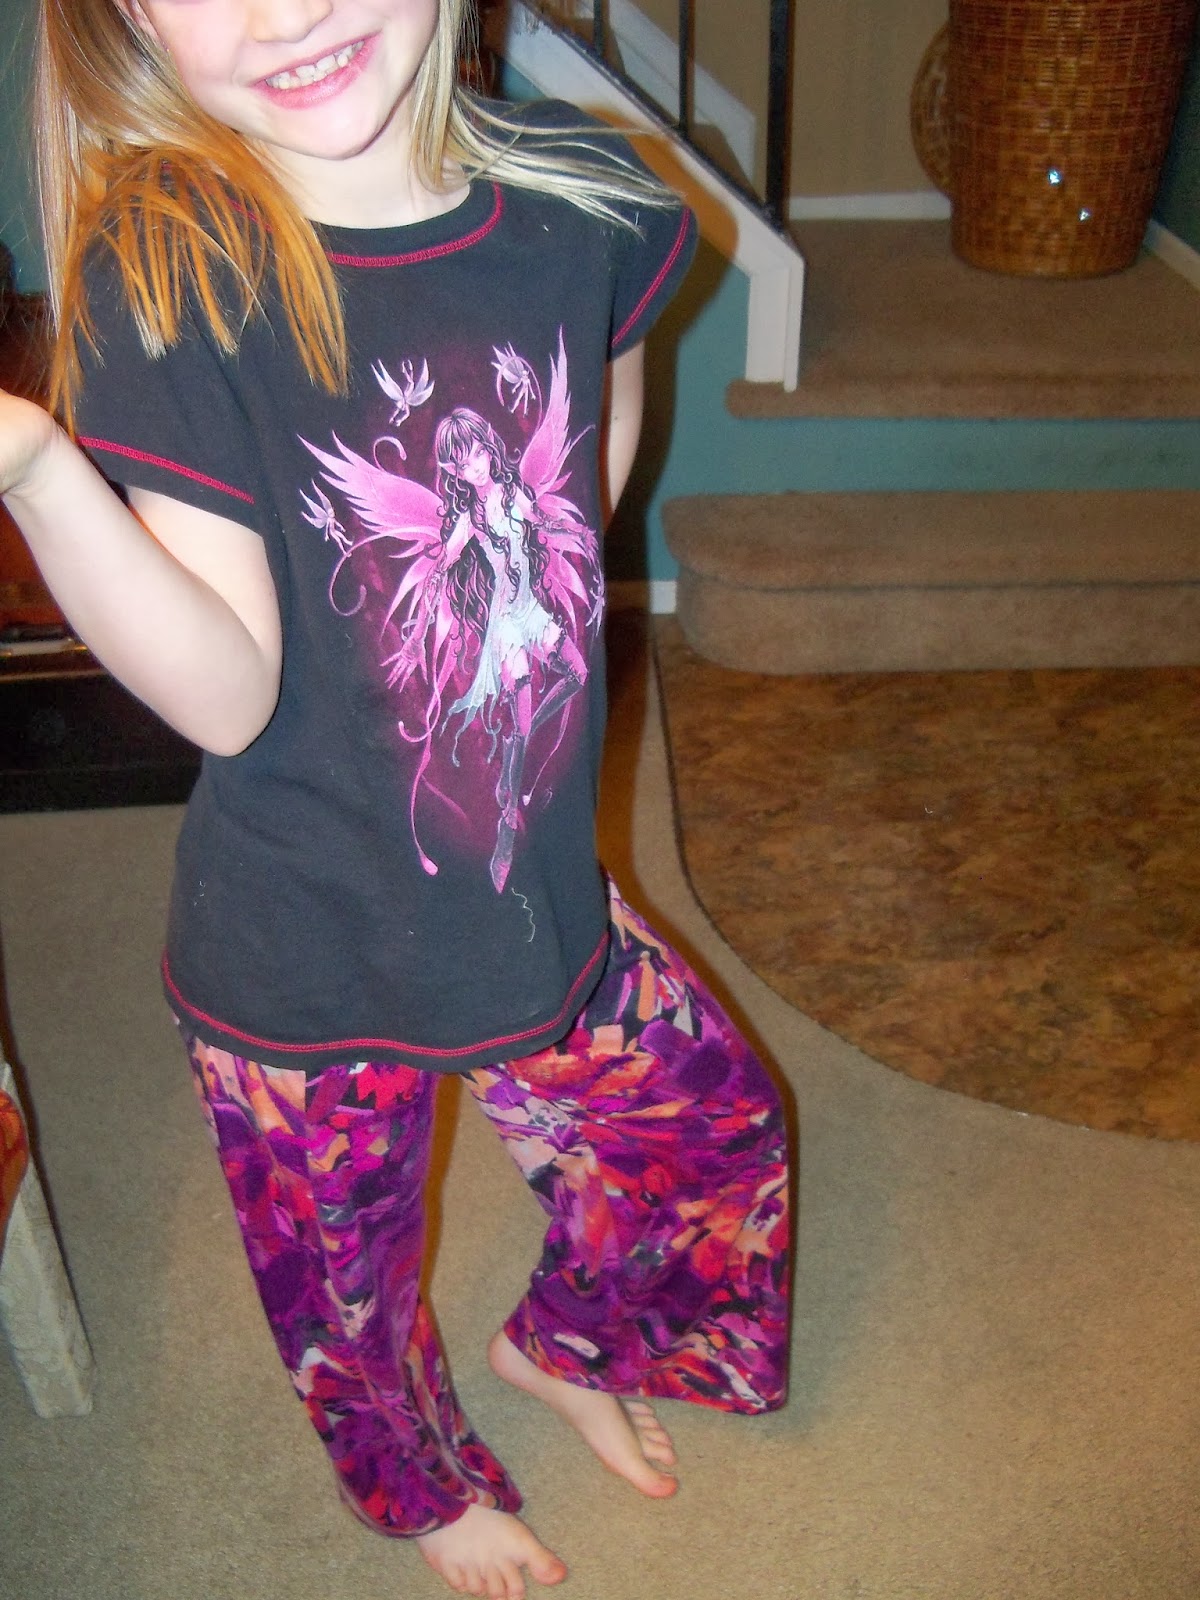
First I chopped off the skirt to use for pants.  I left a little skirt below the elastic so I can use a rolled hem on it.  I basically like the top as is, except it is WAY too big, so I'll just cut it down to size for the daughter.  Who knows, I may end up with two tops! Maybe a matching mother daughter set.... I'll set this one aside for now and focus on the pants.


Well here they are.  Not a lot of steps to show.  Basically used the existing hem, all seams are in the inseam and added an elastic waistband.  This photo is a tease on a project to come.  That is the dress from yesterday and yes those are ruffle pants coming soon.....quit looking over there and wait for it.


She can wear these anywhere for now it's  ...
Comfy, comfy and off to bed


So that's two outfits so far and we know another is coming later from that dress top.  I just need to think on it.


Tuesday, February 4, 2014

Pink and Orange with black dress

These are the kinds of skirts that set my heart a flutter.  The are HUGE, tons of fabric, always long, always colorful, always full swirl, and have done most of the work for me in construction.  Can you imagine sewing all those layers?  And those black capri pants will make a nice bodice for a sun dress.  


Most women's capri pantsthat I find are loud colors or patterns, perfect for kids clothes.


I used as simple sundress bodice construction, which is just cutting out four layers of the top fabric.  I decided to save those folded hems on the legs in case I need them for later. Two pieces, sandwiched, sewn and flipped make the front, and same for the back.  I did topstitch around them to make it look nice and crisp.  


Then I added button holes to run a gross grain ribbon through.  


Nice sharp embroidery scissors make it easy to cut the slit in the button holes.


The skirt is so large that I am de-constructing it for several projects.


The top part of the skirt will make a nice shirt.   And I have the underskirt for something else too.


Those bottom layers, once removed, make up a LOT of width in fabric!  I'll only need half that width for this dress.  So expect several other projects from all this excess fabric.


 And here it is, nice and easy.


I plan to stitch the ribbon in place so it lies nice a flat and doesn't shift around or come untied.

Thursday, January 9, 2014

Upcycled Jewelry


I took a little hiatus from the blog for a while to focus on getting the house ready to list but I have to admit, I've been up to no good behind the scenes.  A couple of fails but some wins too. 

Fail : selling clothing lots
Win:  upcycling jewelry 

First a fail.  I tried selling clothing lots on Ebay.  I also listed on Craigslist and got lots of bites but no followups to come and get.  I'm sure those bites are in my spam file now.  I've research the selling of clothing lots on Ebay before so I know that there is a science to it.  I basically decided to purge my closet by wearing it, then selling it.  The idea being to start with with what I have already worn several times, a cycle of no sells while I wear new stuff and then get it ready, then sell again, etc.  The idea also being that I will never have a yardsale and it will end up back in Goodwill eventually, so why not try this.  I know that I'll keep buying so why not.  BTW, I did it before with my maternity clothes and it went quite well.  So the theory was good, but the timing was likely bad.  I just don't think people buy these used clothing lots during the holidays when  they are more focused on buying for others (new) than themselves.  Anyway, I did it the right way by providing the fashion service as well as the clothes, matching up outfits and including jewelry.  I've seen clothing lots of namebrand clothes handled this way go for a lot......I've boiled my problem down to two things:
Timing - the holidays is just not the right time.
Size - my size is not a hard to come by range

So I started out with Buy it Now and got lots of watchers but no bites, kept lowering the price, still no good, even with best offer option.  This was over several weeks.  So I finally got fed up and went directly to auction with a low starting bid.  Well they got bid on alright.....at the last minute any by only a few people.  So needless to say I am basically giving them away...I'll make a little but certainly not worth my time.  Since three of the people bought multiple lots, I'll be able to combine the packaging and hopefully save on shipping but otherwise, I didn't make much.  Oh well, nothing ventured, nothing gained. 

Now the win:  I upcycled some jewelry!  I actually did this a while back and just never shared.  But before I ship these off, I remembered and decided to let you see what I did.  These are all pieces that I already had, got tired of, upcycled, and now am tired of and sold them with the clothing lots.  Since they are costume jewelry, I don't think I'd ever make anything off trying to sell them alone.  Now I have seen some really fancy, artsy fartsy upcycled pieces sell for a lot but they include a TON of added charms and findings, so obviously have a lot of overhead and time put into them.  Mine are just basic upcycles, taking an okay piece and making it prettier.  Anyway, I was done with it, so nothing really lost.


This one is nothing more than adding a brooch to a necklace.


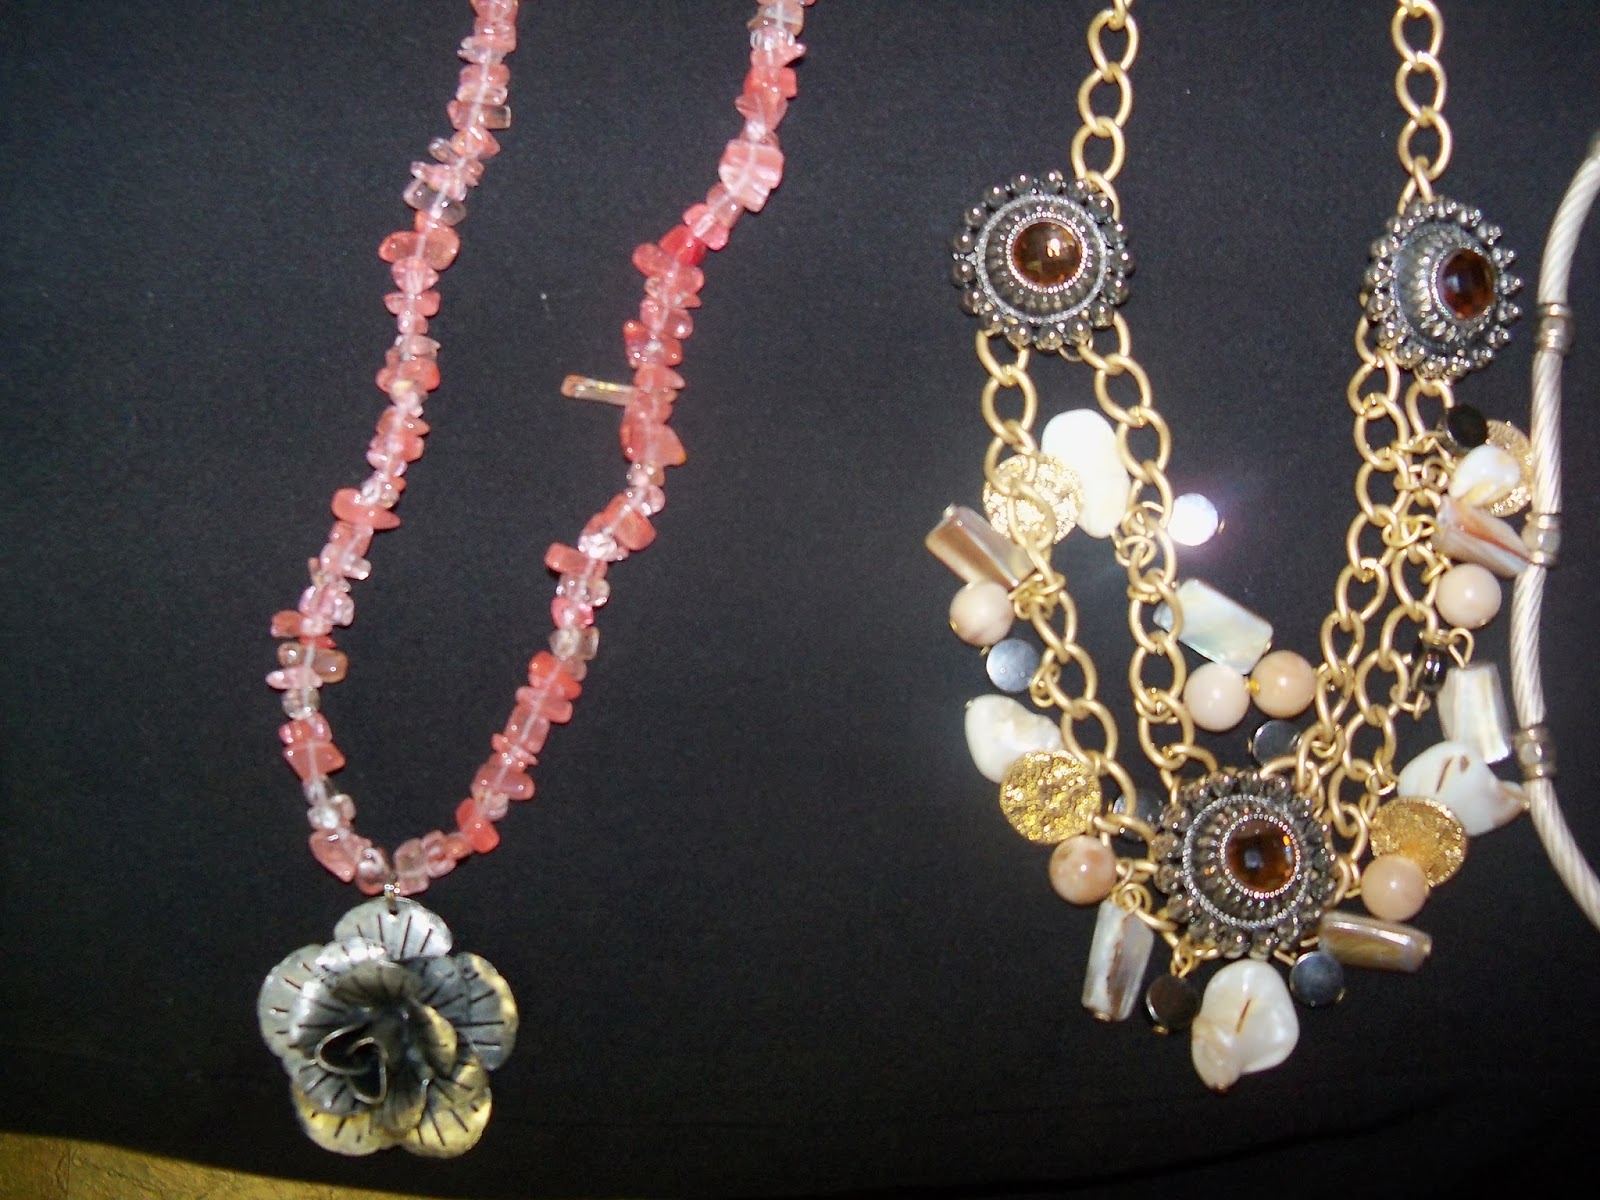
Now this one was a fairly dated necklace (think 80s) and I added the charms all around for a more edgy look.  The charms are a de-constructed dangly earring from Target.  I still have the other one for another project!


The red one is a definite vintage piece.  Those beads are covered with silk thread.  It was just a long string of beads and I added a chain to the back, that lets the two layers hang in the front.  The rose is a charm I bought at Michaels.  The dangly metal circles behind it are an earring that I attached.  I still have other one.  


These next two are beachy type necklaces that decided needed to come in out of the sun.  


The pink one has attached another rose from the pack I bought at Michaels.  The statement necklace was a double layered shells and stones piece that I just added the three large charms, also from Michaels.  I attached each charm to both chains so they lie flat instead of dangling.  


And the final piece was a another statement piece.


This was fairly heavy 80s necklace that I decided could handle some heavy charms.  I added these three charms from a Michaels charm pack.


So there you have it.  I have tons more costume jewlry and I'll continue to upcycle it and wear it until I am tired of it.  I may try the clothing lots again at a better time but not with a low starting bid again.  I'll have to think about the best approach.


I'll share some more wins and fails soon.

KISS - add elastic

Sometimes you find an item for tweens that is just perfect for a twittle one, just too big.  No need to restyle it, just size it down.  

In the case of this adorable skirt, it just needs elastic in the waist.  Keep It Simple Stupid.  KISS.


Notice this skirt is twice the size I need (an 8 for an 8 year old)...though it fits her perfectly except for the waist.  That tells you a little about the length this would be on a tween wearing a size 16.....hmmm?  Oh well, I digress.  I'll be there soon enough so I'd better not throw stones now.


It had a nice flat waist to work with and I could have just threw some darts in the waist but I'd be popping them out in no time so best to go with elastic.

So I used the stitchpicker to open an existing seam to run the elastic through.


I also opened the seam beside the zipper, pulled it through and then stitched the opening back closed and cut the excess elastic away.  After I ran the elastic through, I decided to sew a line down each side to provide a channel for the elastic to sit in.  Otherwise it would have rode to the top of the waistband....not what I wanted.  It would have been so much easier to sew this channel on a flat panel waist instead of waiting to do it once the elastic was already in.....note to self for the future. Who am I kidding, I already knew that, but those who fail to plan, plan to fail.....or something like that.  Failure is not an option, I just roll with it.

Notice how thin the fabric is that I worked it through?  There is a lining in there that I could have gone inside but then I could see the elastic from the outside of the skirt.  I ran the elastic on the outside of the lining but on the inside of the waistband to solve that problem.  Another way to have done this would have been to use a random scrap of fabric and sew a channel to the inside of the waistband without ever opening up the seam.  Tomato, tomato....I saved fabric.


See, a quick 10 minute fix to an already great skirt...now to just convince her that she is not a teenager yet.  She already has the eye roll down pat.  I'll have to update with a photo when she wears it.