Friday, February 21, 2014

Paint and Decoupage


In case I haven't mentioned it, I have been involved with several Meetup groups lately.  I actually started two myself:  one for upcycling in general (crafts, home decor, etc.) and the other upcycling of fashion with clothes refashions, mostly through sewing.  You should check out the meetup website to see if there are any of interest in your area!


The general upcycling group has had one group meetup and two "work on a project" meetups.  One project that I worked was the painting and decoupage of three small furniture pieces.  I invited two group members to come over and help or work their projects.  It turned out that only one member was able to show, but we had a good time.   I did not complete the projects.  Let's just say, I was a little overzealous with what I thought I could accomplish in the allotted time. We were able to paint two pieces (mostly) and decoupage one little part.  We still had fun!

Anyway, I failed to take before shots, but just know that of the three items, two were dumpster finds. I am just now getting around to finishing the pieces up but I must say, I am pretty happy with the results.

A little history on why I was working these projects to begin with.  In getting the place ready to list, I have been working to stage it.  I invited a friend over that has an eye for this type thing and she suggested that the three pieces, which are all close to my front door, were too hodgepodge due to being different colors.  Probably due to being dumpster finds too :)  So she suggested that I paint them all white.  I am not really a plain white kind of person but I do agree that they need to have a consistent look.  Anyway, blah, blah, blah....here they are.

This first one was an oaky orange color, like you can still see on the slots.  My meetup friend and I painted it with a diy chalk paint....not the best I ever made.  It did not cover as well as I have had it work in the past. I decided to leave those slots since the paint wasn't covering well and they would likely chip with use on those anyway.   This was an "other than color" - nice thriftstore junk corral.  


I added the decoupage on the outside for interest and to the inside to hide some of the streakiness.  Now that it is in there, I really like it.


The next item is one that we never got around to at the meetup.  This is an IKEA-like bookshelf that was sitting by a neighbor's garbage cans a while back.  It has travelled around the house for a while in its slate grey color.  It recently landed in the kitchen as a more compact and decorative storage spot for my pantry canisters.  If you look back through my posts, I did have a table there at one point with my microwave on it and tons of pots under it....well remember, this is all about staging.  I had to nix the table to keep the kitchen from looking too small and most of the pots are in the storage unit.  Yes my kitchen is big enough, I just have too much stuff.

I was supposed to paint this white too, but it is a laminate type material.  I know that you should be able to paint that with chalk paint but I just have visions of it scraping off every time I grab some sugar.  And I actually like the grey when it is paired with the graphic on this scrapbook paper.


I am sure my friend will take away some of the stuff that doesn't match so well.


The paper on the shelves is not decoupaged in place.  I just used some sticky squares to hold those.  The grids slide out and I could just see the paper getting ripped when I slid the grids back in.  Or not being able to get the grids to slide due to tacky paper.


I do see excess paper hanging out the back now that I have a picture.  I'll trim that.


The final project, that we did start at the meetup, is this dumpster find shelvy thingy.  It was easily disassembled for painting.  I did the decoupage on my own later.  The shelf was stained dark, scratched up,  very wobbly and is still missing feet (I have balls of tin foil on the bottom for now).


It looks fabulous now!


At the meetup, we discussed ripping the paper to cover these but it turned out fine to just overlap the edge of two pieces.  It blends with the pattern.


I didn't bother to distress since the paint didn't cover well anyway.  It looks like a whitewash.


Now a more cohesive look.  The grey shelf is just a step away in the kitchen.  Even though it is not white, it ties together now because of the decoupage.


These three projects were not my best work.  The paint didn't cover as well as I'd like.  I couldn't find my exact-to knife for cutting the paper.  It is cut very crooked with scissors, even ripped in a few places.  The paper I used was really too thick for decoupage so it has some bubbles where I just could not get it to adhere well.  But for it not be my best work, they look pretty darn good right?  I guess the style of paper just lends to hiding the imperfections.  And going white gave it a whitewashed look, which is also very forgiving.

I am glad I tackled them as a meetup!  Scheduling the time forces me to just get it done.  It was fun to work on them with someone who loves to upcycle like me.  I wonder what my staging friend will think?


Ignore those ugly bi-fold door in the background.  I had to put them back up (where I had a curtain before), because a buyer will want to see doors.  I have it on my list to paint them....I am thinking a hammered bronze color.  Too much?


Sunday, February 9, 2014

Something's fishy project 2

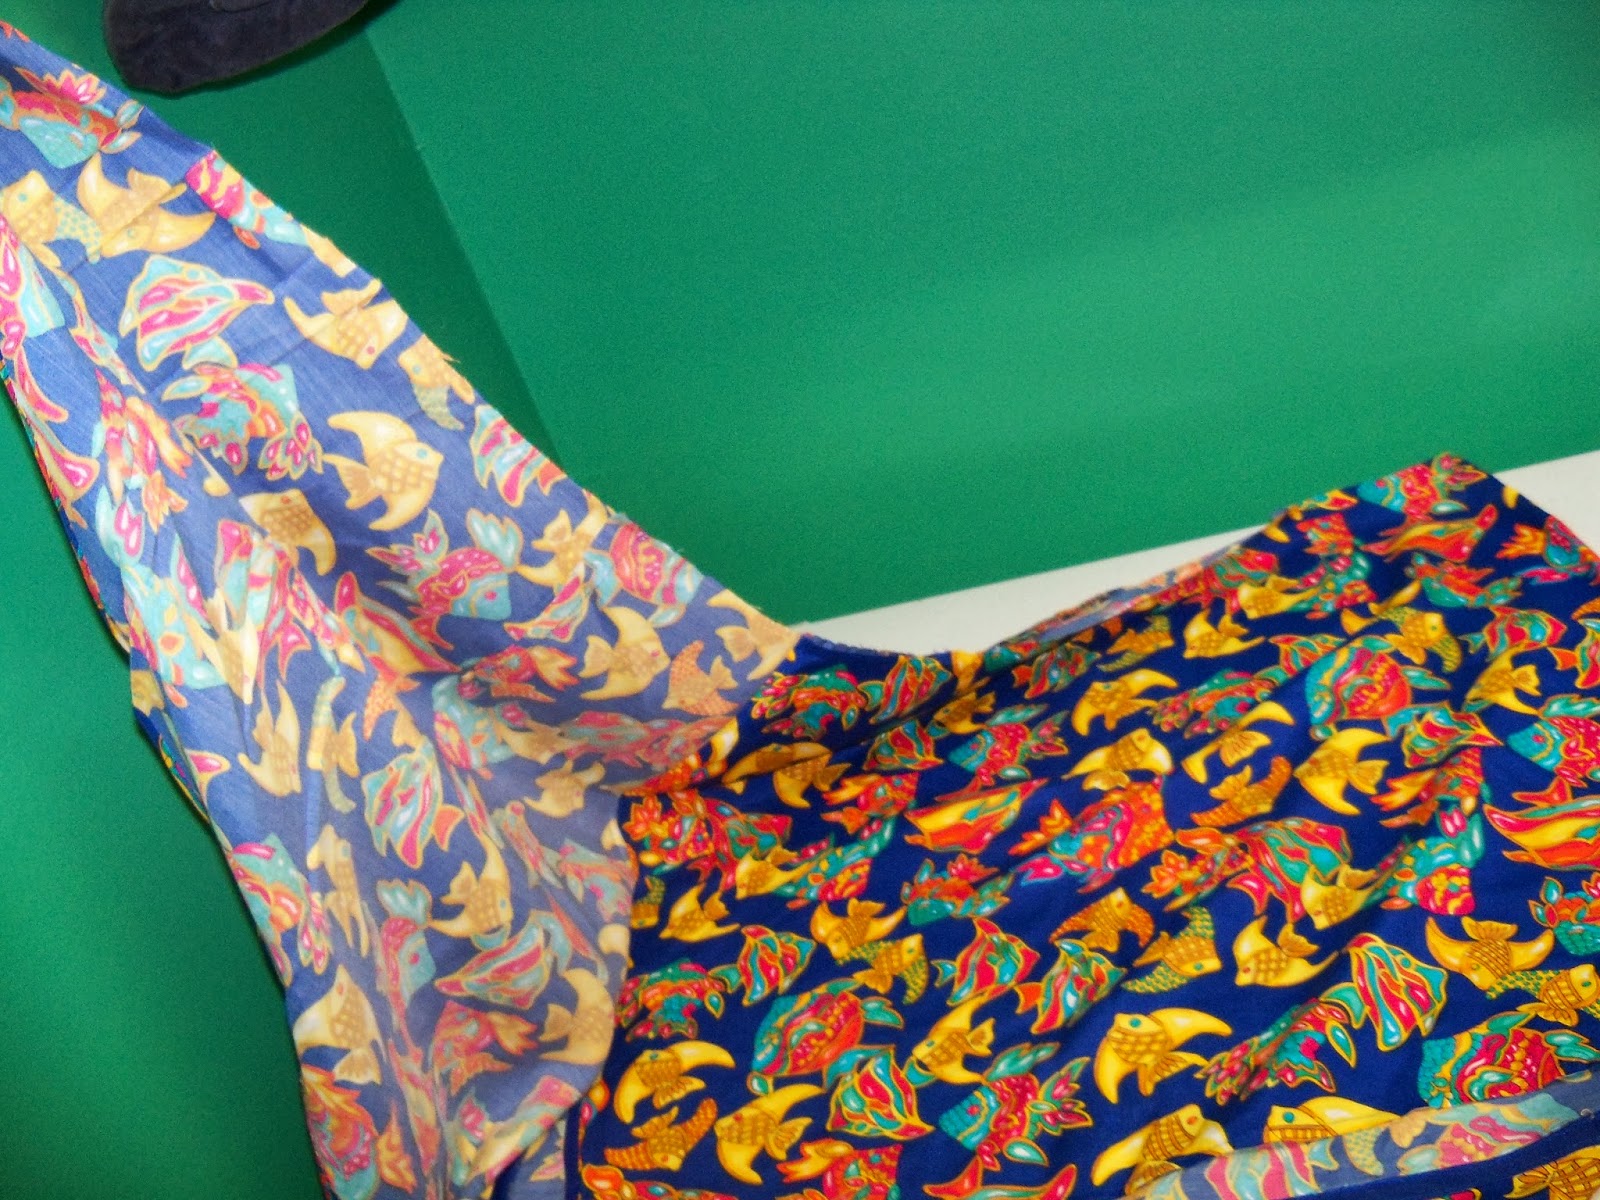
This is the continuation of the Fish project from several posts back.  It's another IOU post but I am sharing what I have.  I'll be using this lovely skirt....


The remaining top part of the dress....

And this pattern, modified slightly....


Here we go....you can see from the pattern that the I made a much smaller size the last time I used this. Makes me sad.

This took lots of strategery.  Typically you'd cut two on a folded material but I have to watch out for the fishes.  The fish will be on the top piece so it means using the pattern piece flipped.  Look how close I came to that other fish......I'm saving it for project # 3.


Here I am, checking on the fish.

The under piece doesn't need a fish, so I placed this piece in a fishless area.  Notice that I did end up grabbing a couple of bubbles...I doubt it will end up showing.  


And here is all that is left to work with on project #3.  Wondering what it will be?

Here are the two pieces overlapped.

I decided to let the back be a little different from the pattern since I have an existing zipper.


It makes the back come up a little higher on the neck but otherwise about the same.  And I JUST did avoid the fish.

When I got to the zipper, I dipped down a little lower than the pattern to give myself an area to double stitch over to secure the cut zipper.


Once one side was cut, it was easy to just flip it over to match it up.  Notice I left the silk lining in the back.  It would have been harder to remove it due to the zipper.


This is a large size skirt....my favorite.


The skirt is a a faux wrap around so I removed the front panel to use for the sleeves.


The pattern calls for bias tape to finish all the edges, which adds a contrast color.  I happen to have this pre-cut bias cut fabric from a Craigslist give away.  


I am using red to match the existing little piece I left on the back to save the zipper.


The red isn't the exact shade but close enough.


And here is the little tool I used to fold and iron it.


Once it is prepared, I attach it to the sleeve pieces.


 Then I sewed the sleeves in place.  I also attached the bias to the neckline, just making it work splicing it in to the existing red piece.  I would normally not have spliced this together but there was already a zipper in the back that I didn't want to lose.


After sewing it on, I finished it with the serger.  Sometimes I sew first if I am nervous about the serger cutting away something important.  Then I serged up the sides to the end of the arm.


Then I topstitched the arms bias tape....


attached the skirt.


Done!

So quite honestly, the reason I have taken so long to post this is trying to get the darn after photo!  So I'll just update this post once I get it.....you can just imagine how cute it looks....right?


IOU - NEED AFTER PHOTO!


So with what little I have left, what could project #3 possibly be?

Saturday, February 8, 2014

Ruffles and ruffle pants

For a complete outfit, I'll need half of the bottom half of the lovely orange and pink skirt from a previous project.  I've lost count of how many projects I got  from that one fabric grouping, and I still owe a post a mother daughter top deal.  Well this is another case of an IOU post.  I'll likely attach some of that layer skirt to an existing tshirt and show it later.  The other item  here is a skirt made of that super ruffle material.  That is the focus here.  You can see the entire outfit when I pull my act together.


I am going to freestyle with this pants pattern, to make ruffle culottes, just leaving the width in the legs. I am just letting that zipper go.  I saved it of course.  I was careful to cut one layer only when cutting out the back.


And here is the front panel of the leg, being used face down and not needing a side seam.  Again, cutting one layer only.  Not easy when those ruffles keep snagging on the scissors.


And all that is left are two godets....perfect for flares on some jeans.  Hmmm?  Save.


See how I was able to line up the rows of ruffles....like an expert.  No really, I had to unstitch and resew when I saw that several rows on the butt were flipped the wrong way.


Once I got them sewn up (at a sewing meetup, I'll talk about later, in between those IOU posts), I feel like the crotch looks too short, especially since I still need to turn it down for an elastic tube.  I believe I'll end up adding a waistband, most likely from a t shirt material.  I'll have to have her try them on first.  Yes these look awfully short but remember, they are culottes.


Anyway, you can tell that they are going to be awfully cute for spring.  Ahh, spring again.  Can you tell I am dying here.  BRRR!


IOU FULL OUTFIT PHOTO.

Friday, February 7, 2014

8 years later

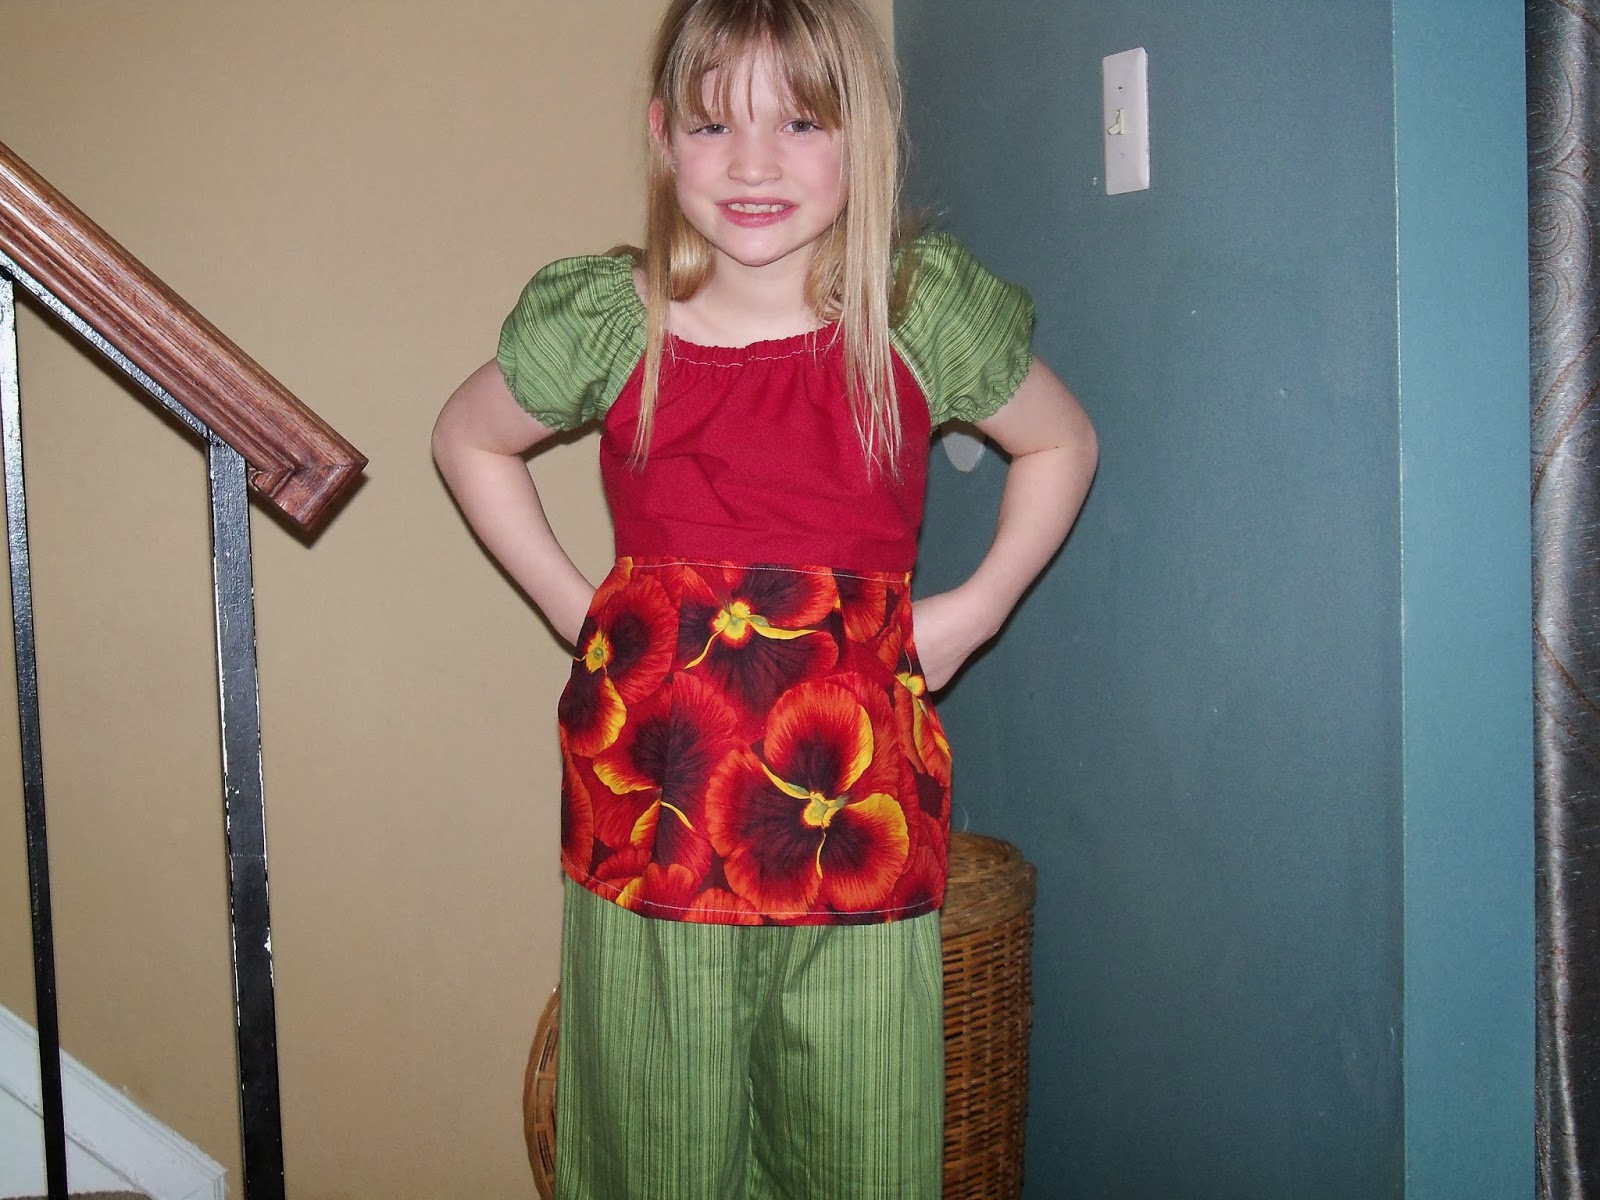
Just to shake things up, instead of sticking with that same group of fabric from the last few posts, here is one off the wall.  This isn't really a refashion except that the burgundy fabric came from a sheet.  The green is a fabric remnant bought at the thrift store and the flower piece was bought on ebay years ago but no fabulous upcycle here.


The flower piece was actual bought and she was laid on it for new born pictures....she finally gets to wear it, 8 years later.  Who knew?  You can tell I was limited on fabric by the minimal gathers in the skirt.


Now that she is getting older, I am questioning if I should make some of her outfits more tailored, like she is showing below.  Any opinion from the peanut gallery on whether this looks better loose or if I should add a little elastic for a waistline?  Adding the elastic would actually add more gathering to the skirt too.


She obviously doesn't care right now, but I don't want to be THAT Mom, dressing her kids like babies when they are too old.