This is the continuation of the Fish project from several posts back. It's another IOU post but I am sharing what I have. I'll be using this lovely skirt....

The remaining top part of the dress....
 And this pattern, modified slightly....
Here we go....you can see from the pattern that the I made a much smaller size the last time I used this. Makes me sad.
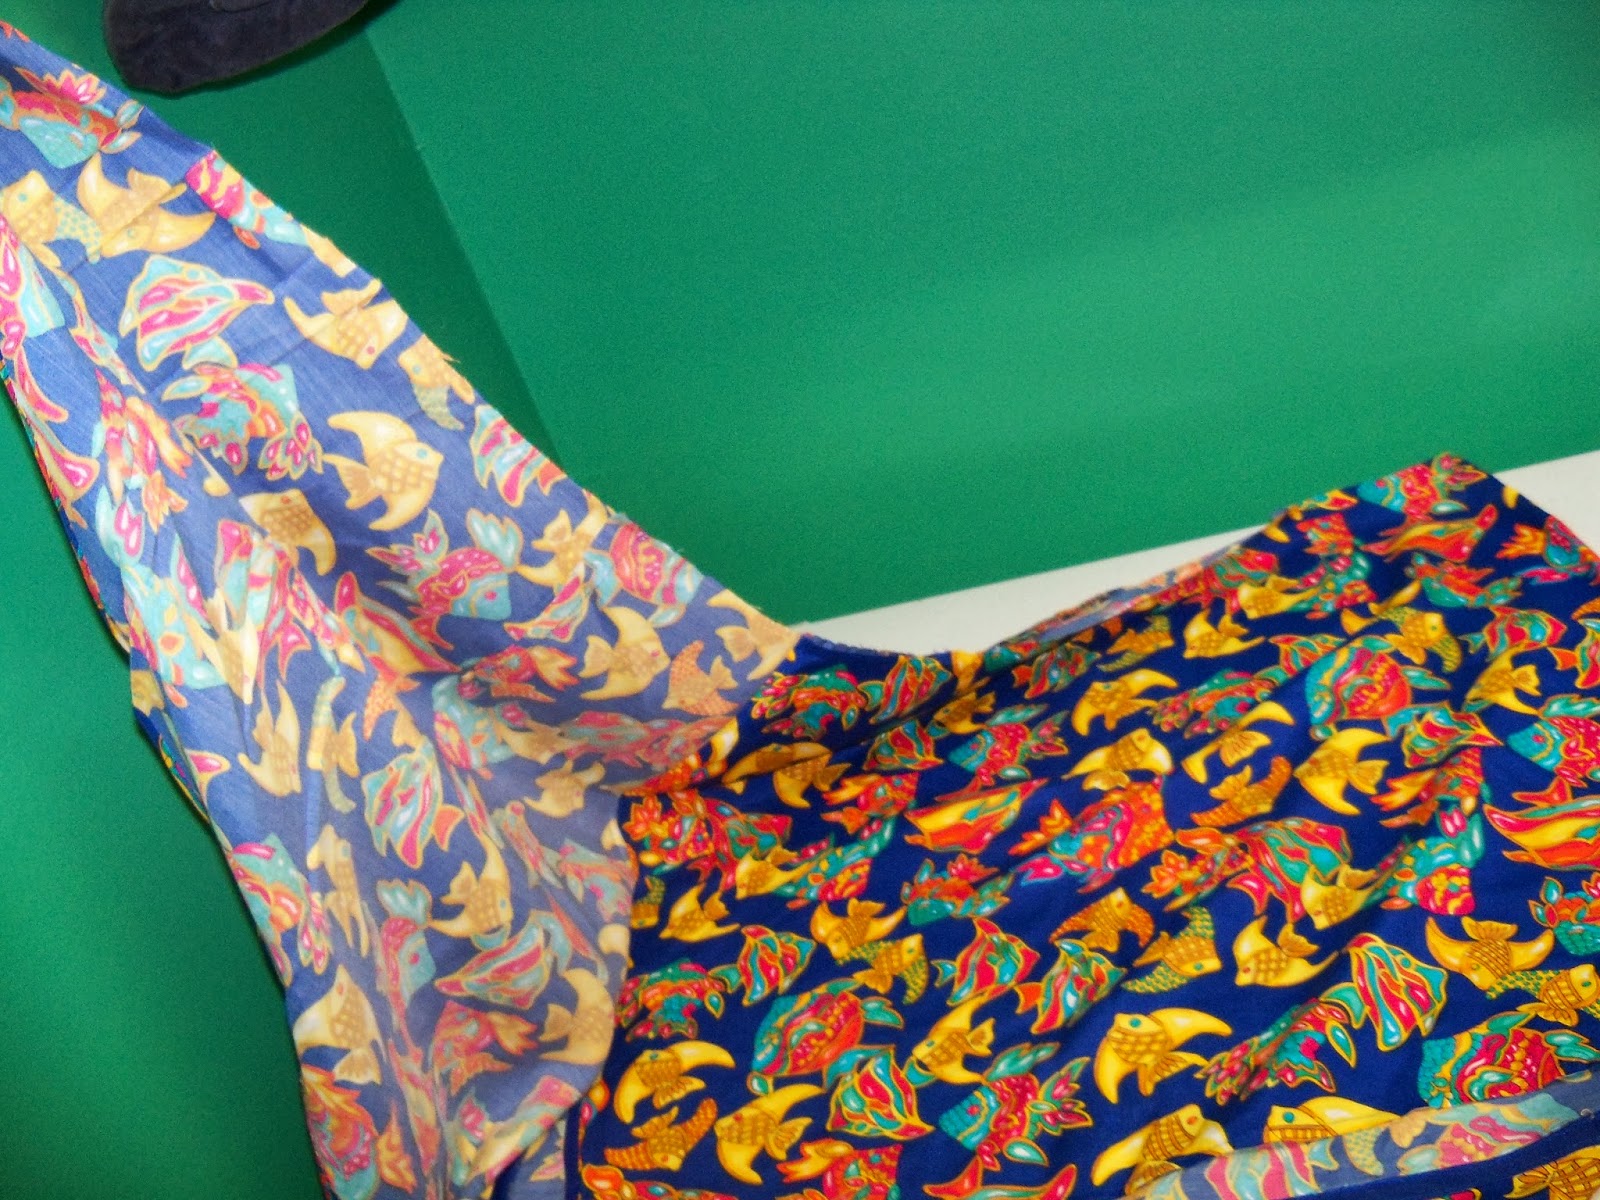
This took lots of strategery. Typically you'd cut two on a folded material but I have to watch out for the fishes. The fish will be on the top piece so it means using the pattern piece flipped. Look how close I came to that other fish......I'm saving it for project # 3.


The under piece doesn't need a fish, so I placed this piece in a fishless area. Notice that I did end up grabbing a couple of bubbles...I doubt it will end up showing.

And here is all that is left to work with on project #3. Wondering what it will be?


It makes the back come up a little higher on the neck but otherwise about the same. And I JUST did avoid the fish.

When I got to the zipper, I dipped down a little lower than the pattern to give myself an area to double stitch over to secure the cut zipper.

Once one side was cut, it was easy to just flip it over to match it up. Notice I left the silk lining in the back. It would have been harder to remove it due to the zipper.

This is a large size skirt....my favorite.

The skirt is a a faux wrap around so I removed the front panel to use for the sleeves.

The pattern calls for bias tape to finish all the edges, which adds a contrast color. I happen to have this pre-cut bias cut fabric from a Craigslist give away.

I am using red to match the existing little piece I left on the back to save the zipper.

The red isn't the exact shade but close enough.

And here is the little tool I used to fold and iron it.

Once it is prepared, I attach it to the sleeve pieces.


After sewing it on, I finished it with the serger. Sometimes I sew first if I am nervous about the serger cutting away something important. Then I serged up the sides to the end of the arm.

Then I topstitched the arms bias tape....
attached the skirt.
Done!
So quite honestly, the reason I have taken so long to post this is trying to get the darn after photo! So I'll just update this post once I get it.....you can just imagine how cute it looks....right?
So with what little I have left, what could project #3 possibly be?
No comments:
Post a Comment